Exploring the Graphical capabilities of Rootex
This documentation aims to showcase the graphical capabilities of rootex and act as a tutorial for beginners to get started.
Let’s start by creating a scene.
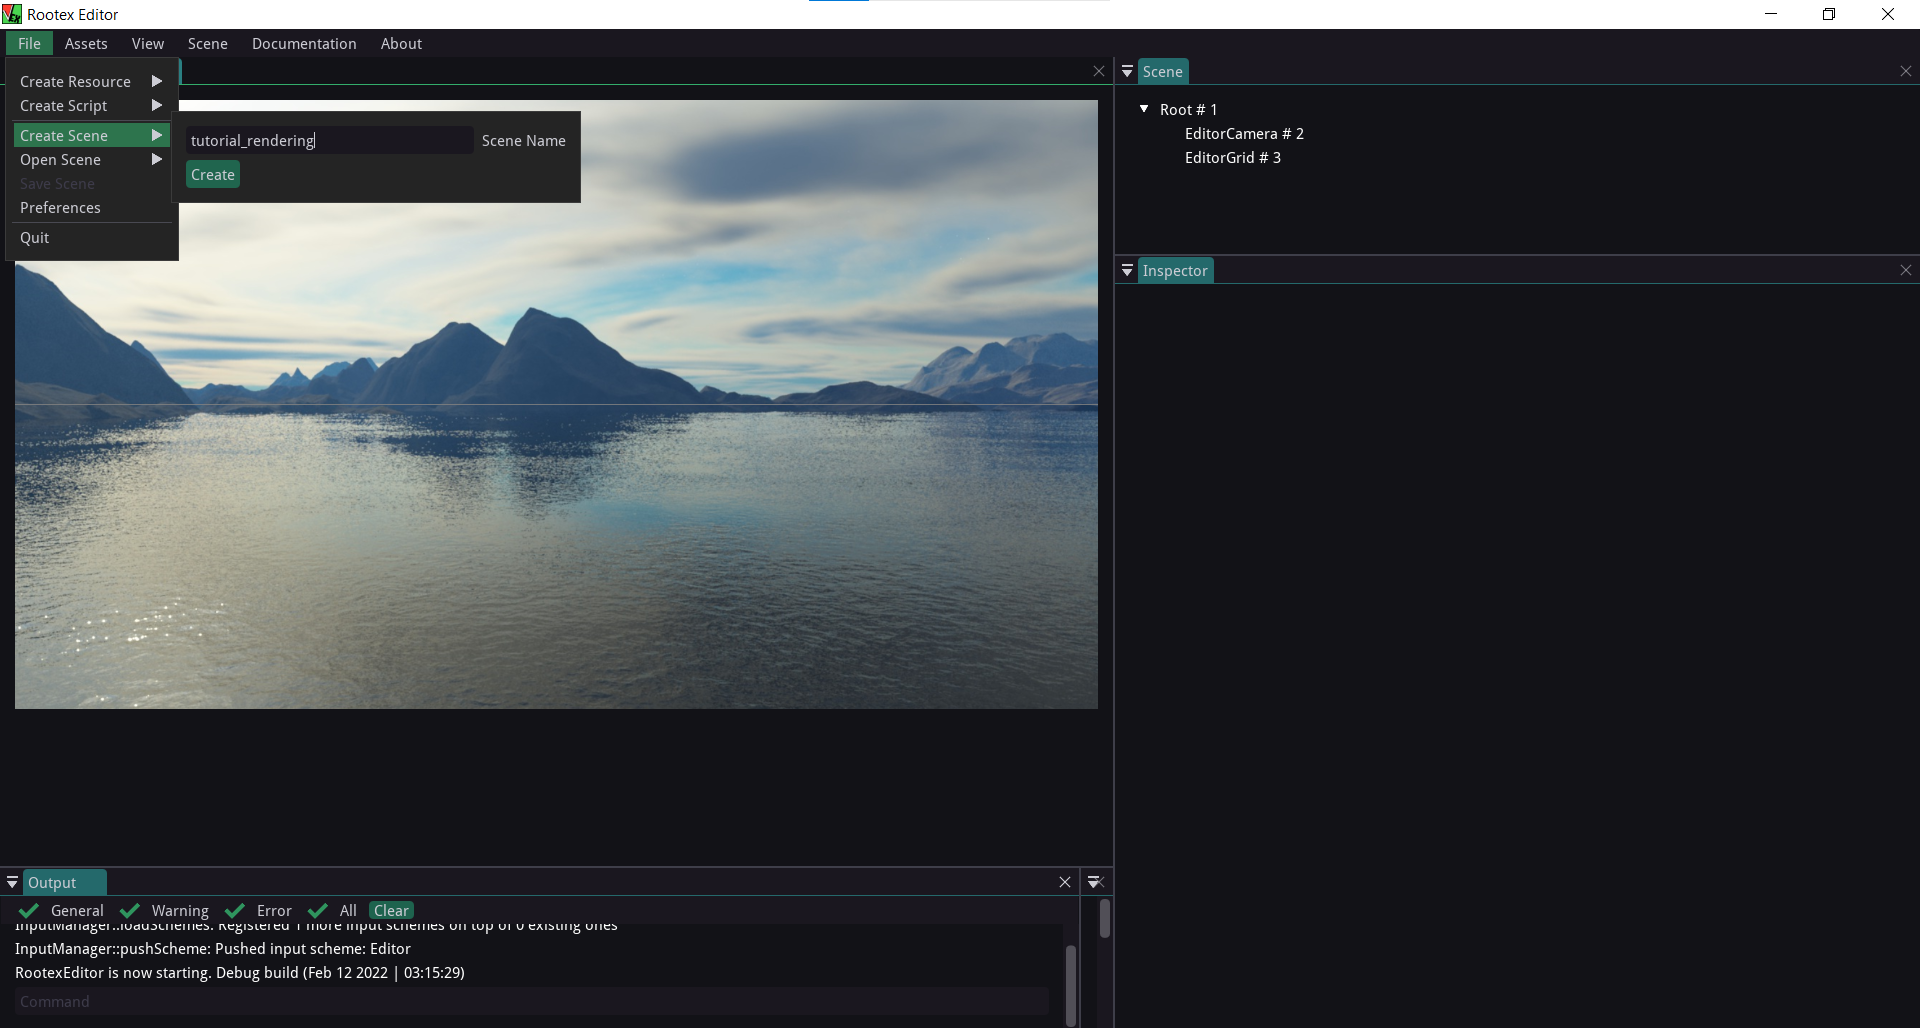
Create a scene
To Create a Scene
Go to file->CreateScene.
Name the scene and click create.
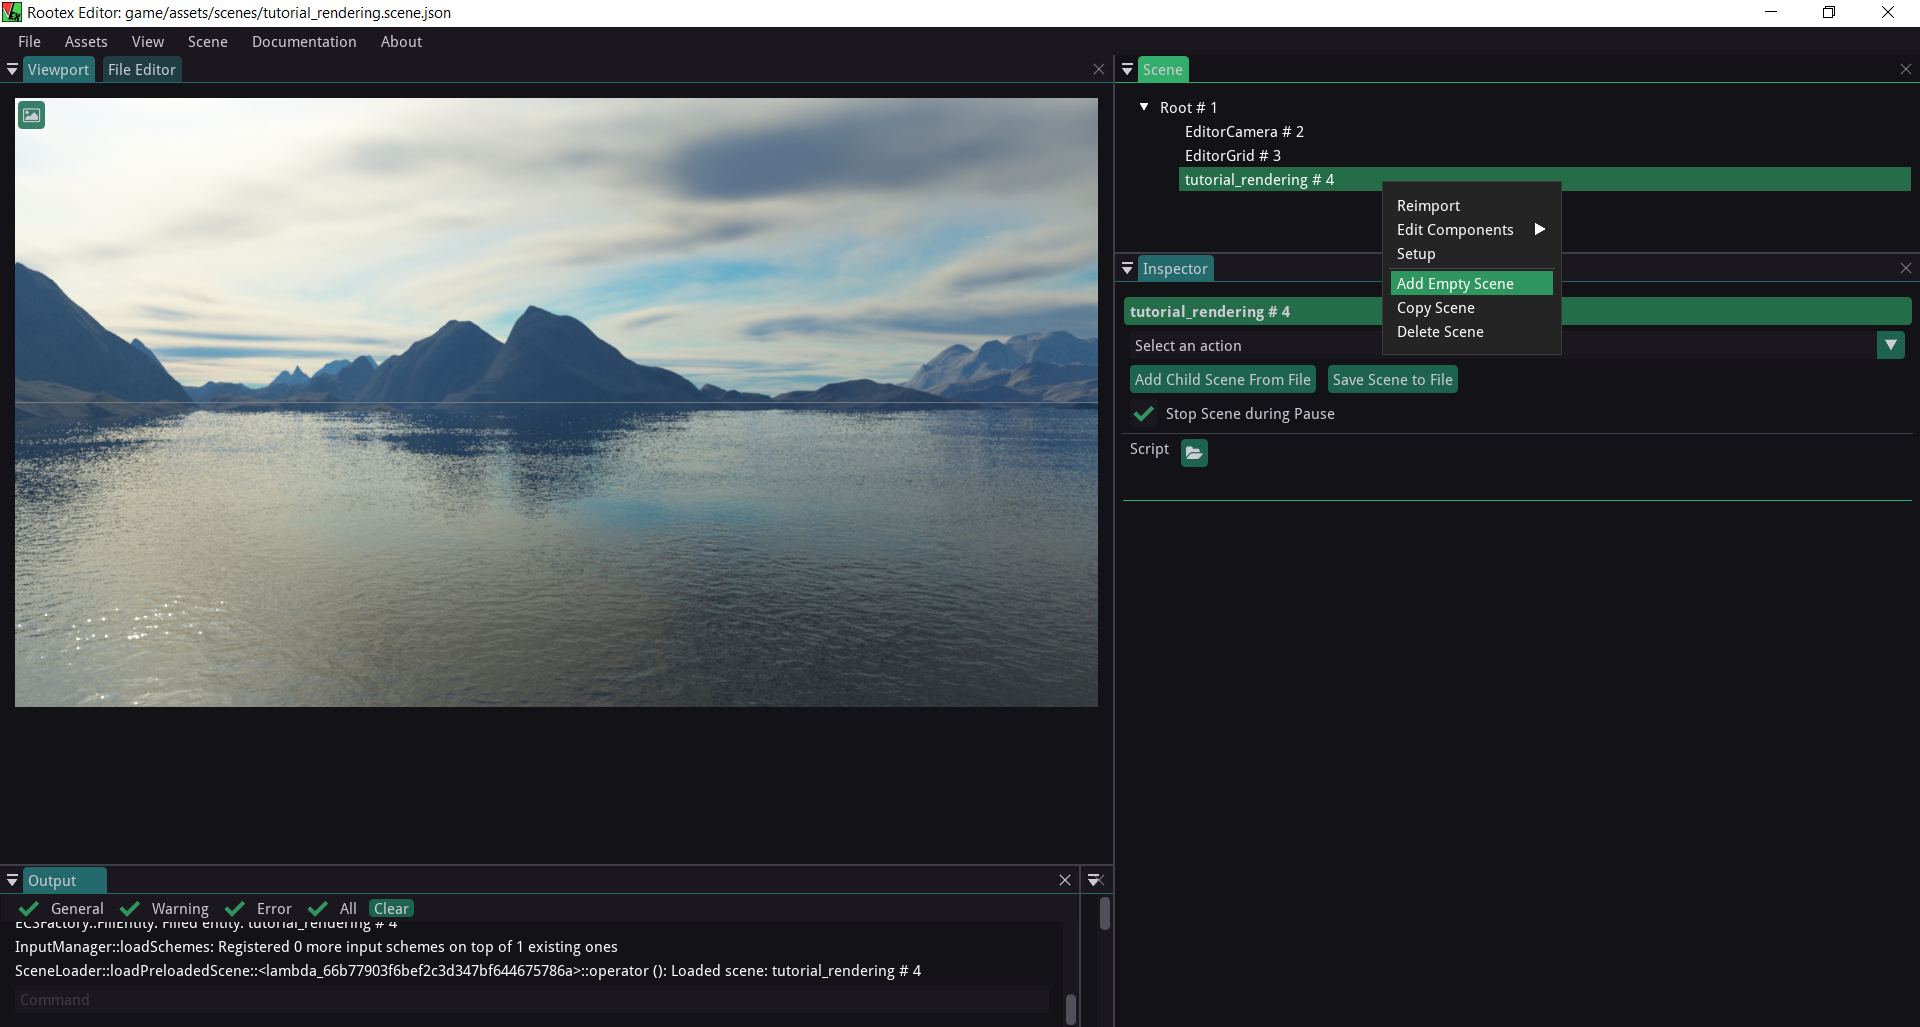
Now we Create an Empty Scene. An empty scene is nothing but objects. You can have different components in it, more on that later.
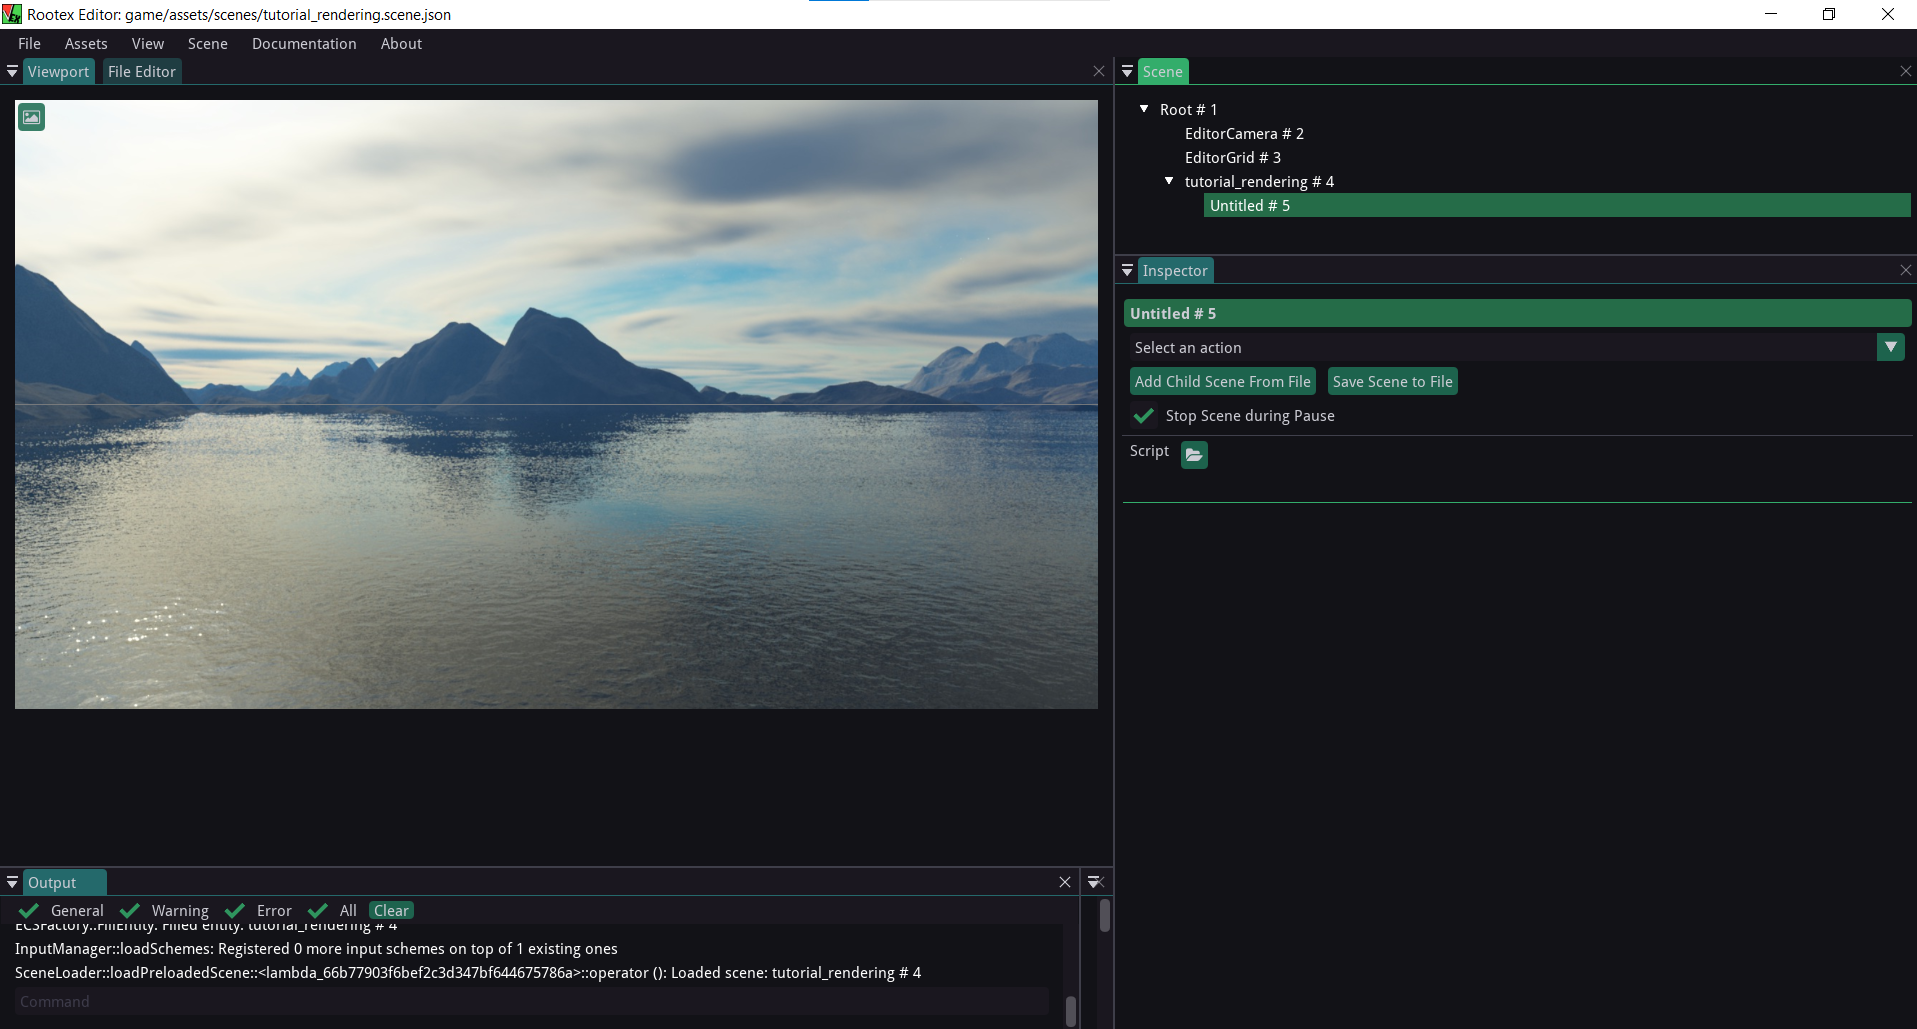
Create Empty scene
To create an empty scene.
Right-click the root scene.
Click Add Empty Scene
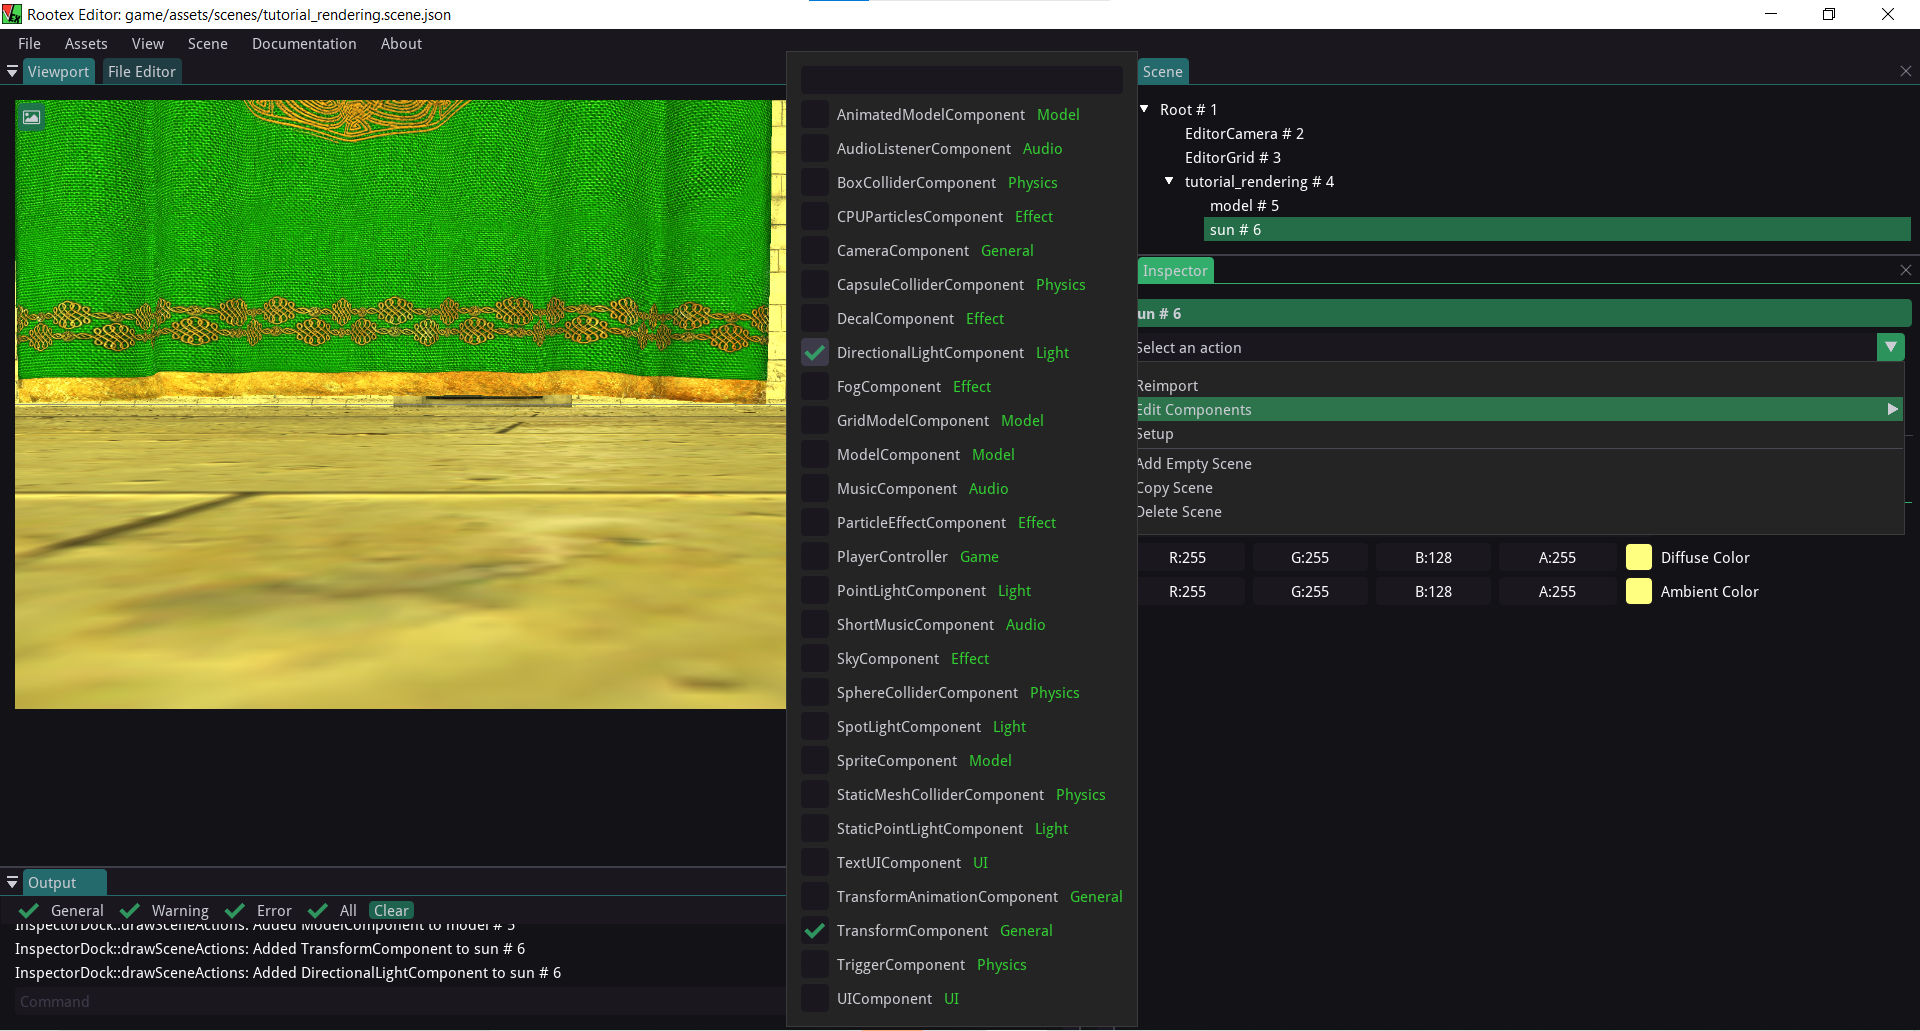
Giving Components
Now we give components to the empty scene.
Right-click the empty scene.
Click Edit Components.
Check the appropriate components, in this case, transform and Model. Note: Transform Component is a must.
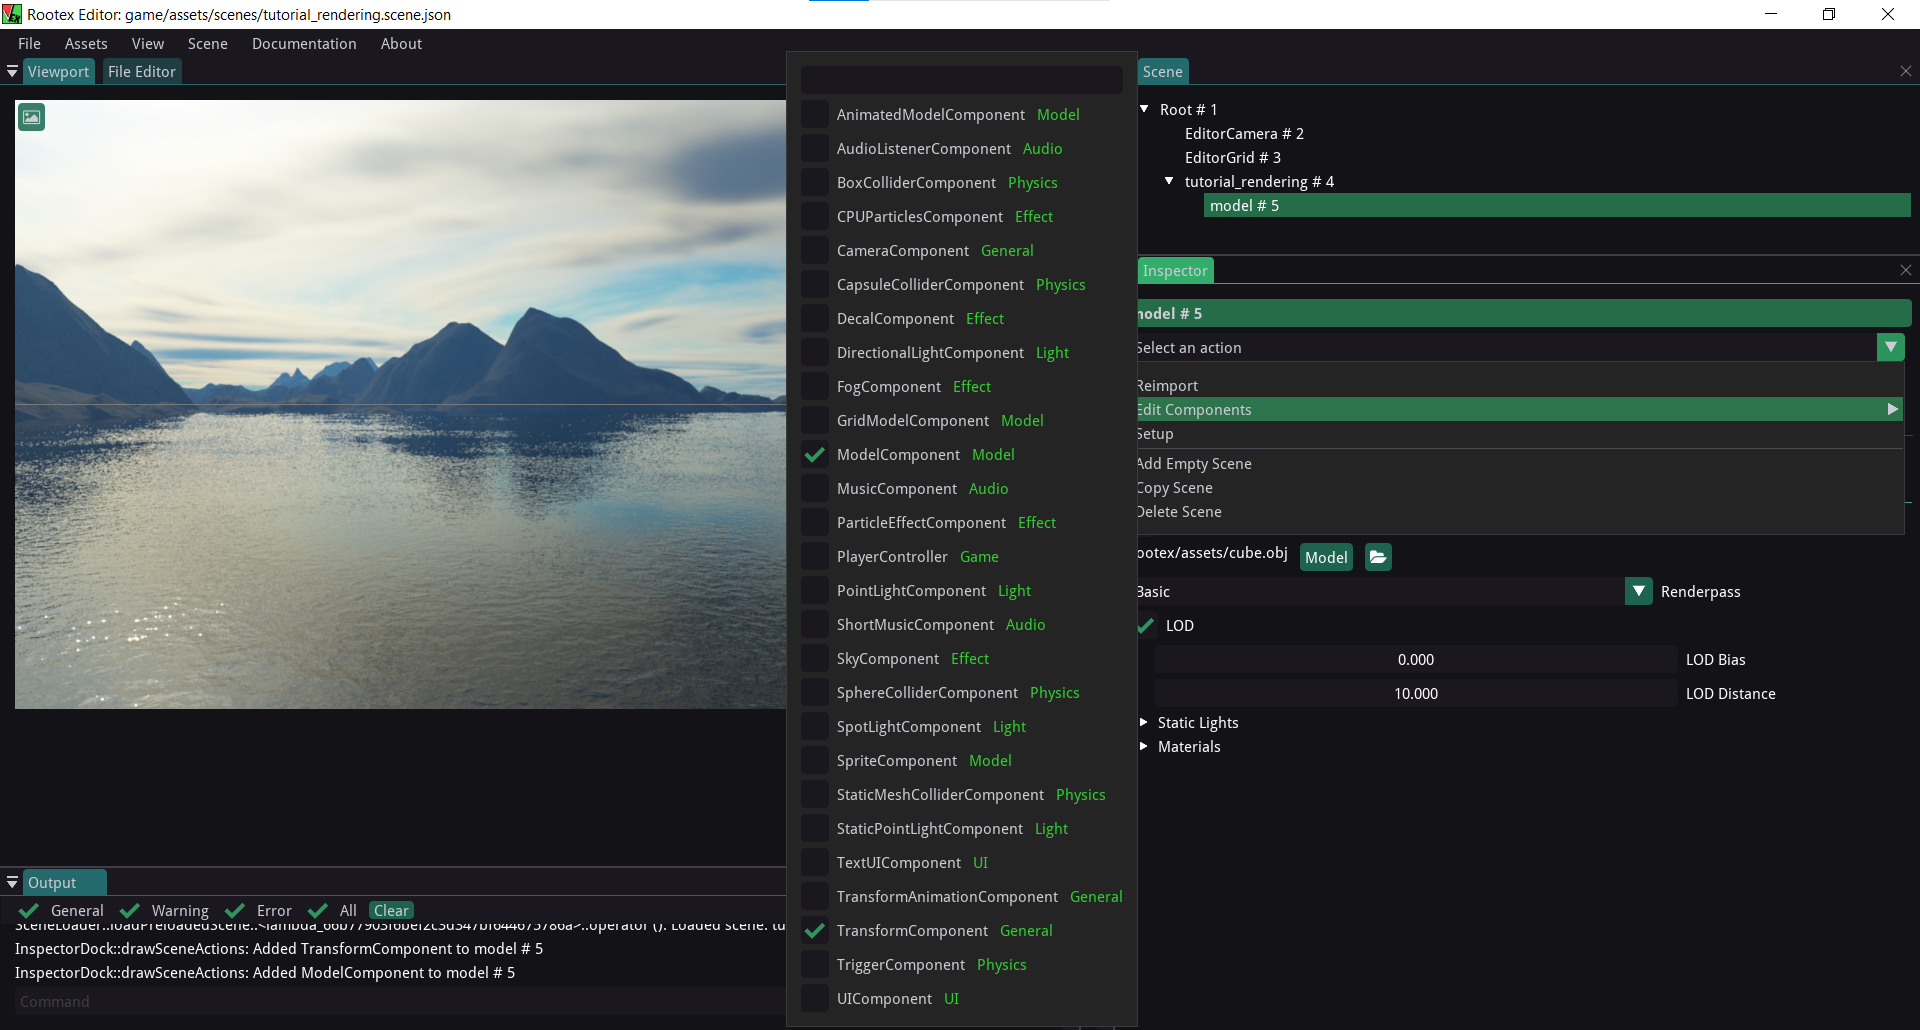
Open inspector.
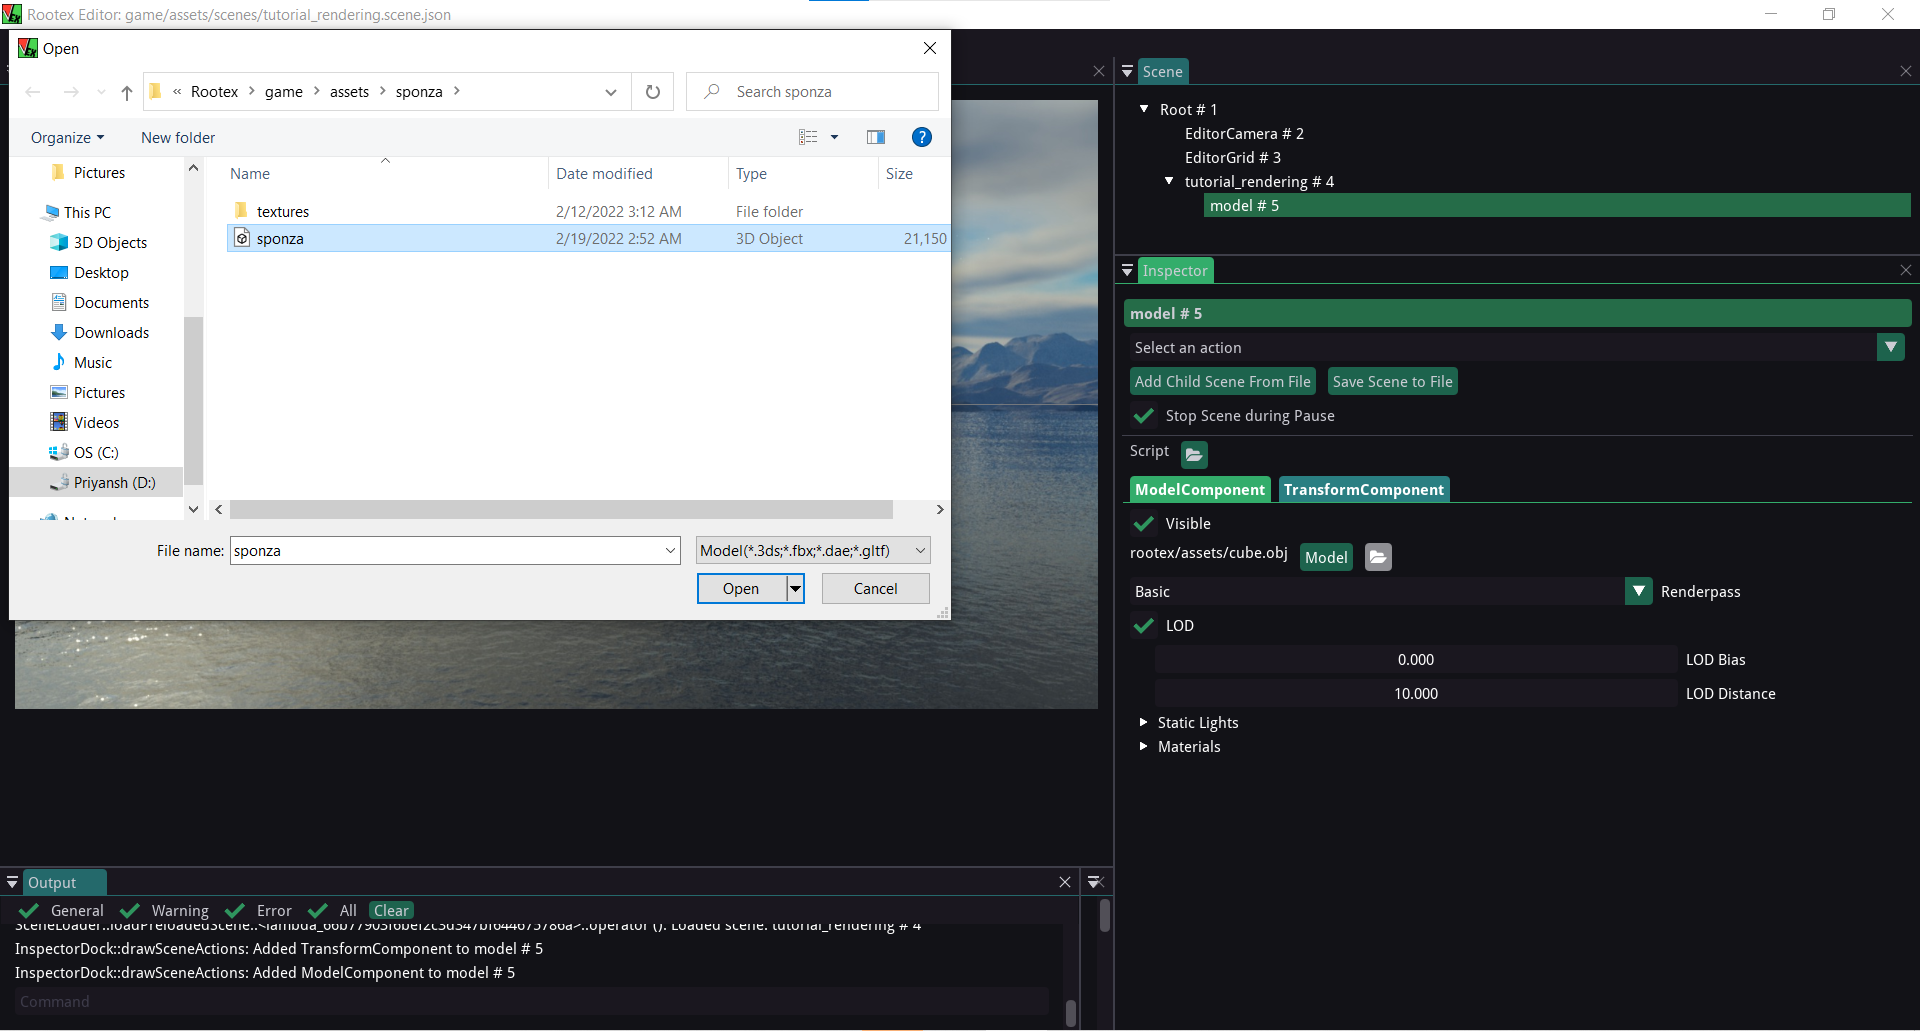
Go to the model component in the inspector.
Click the folder icon next to Model.
Select the sponza 3D model file located at
Rootex\game\assets\sponza\sponza.obj
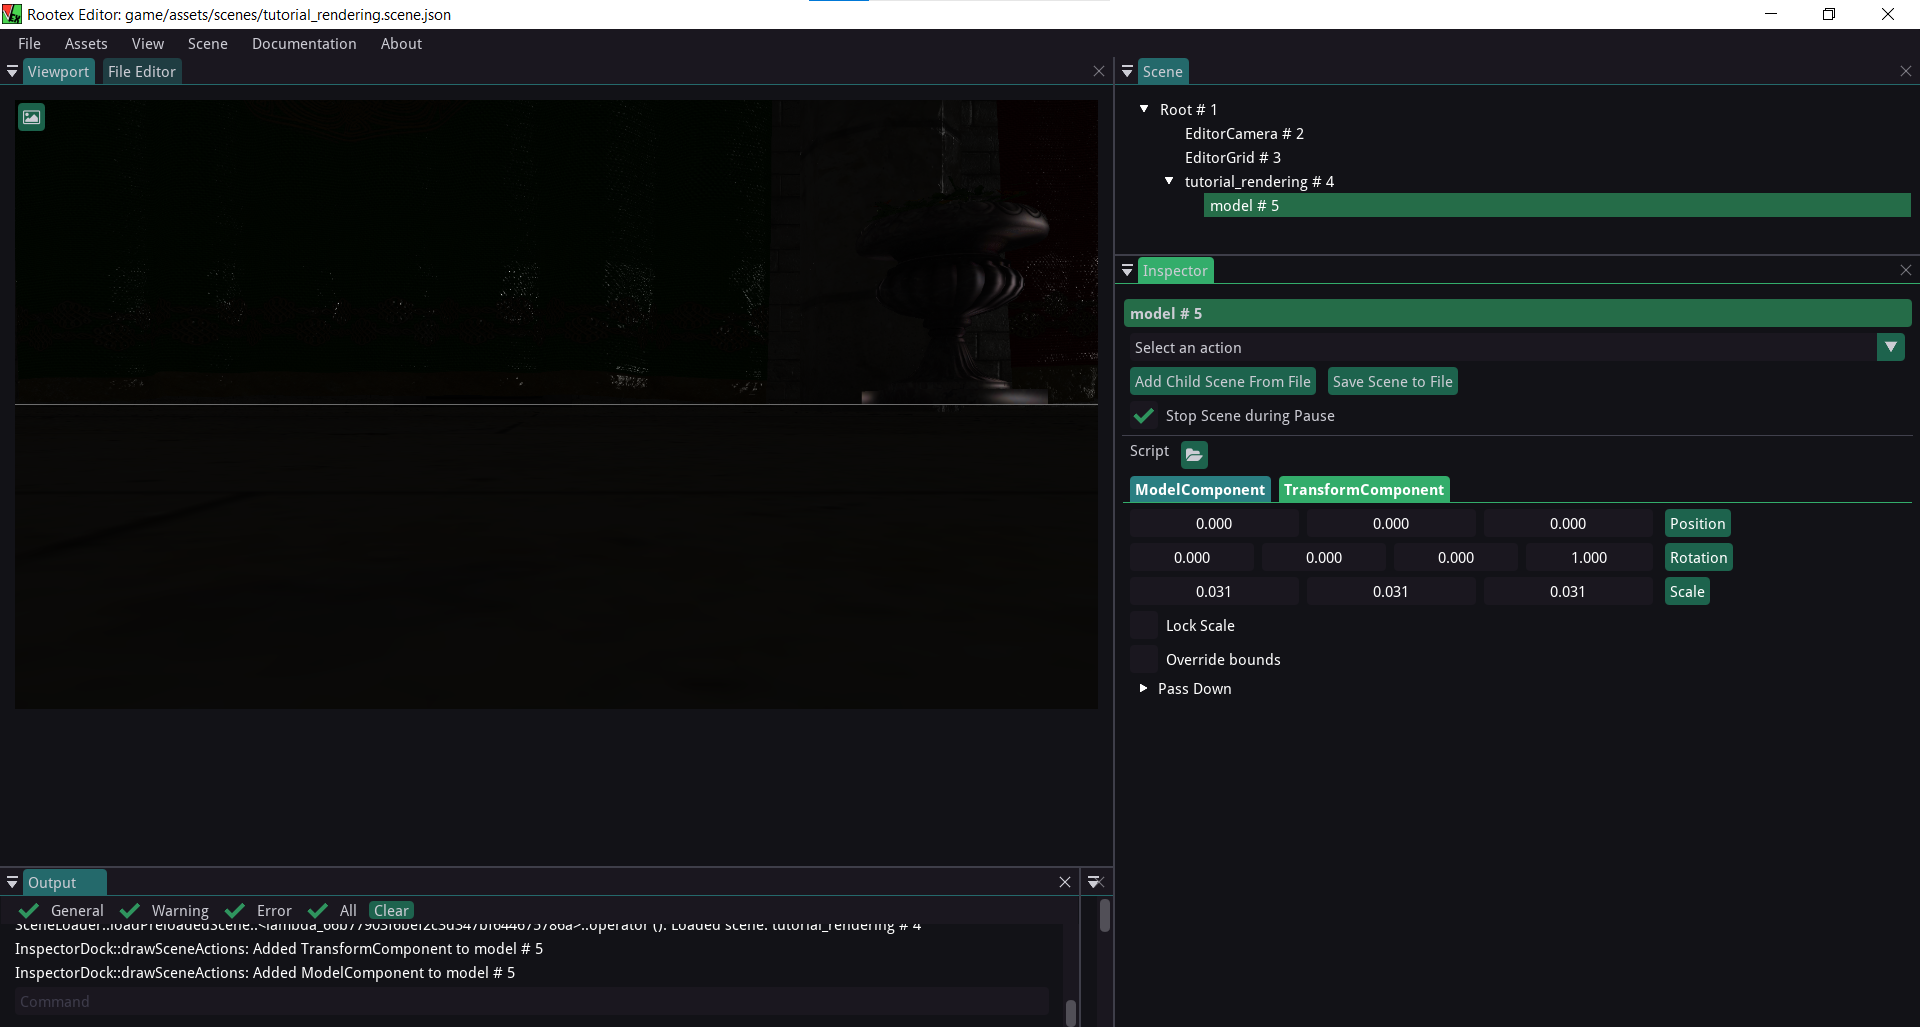
For sponza initially, it would look like this:
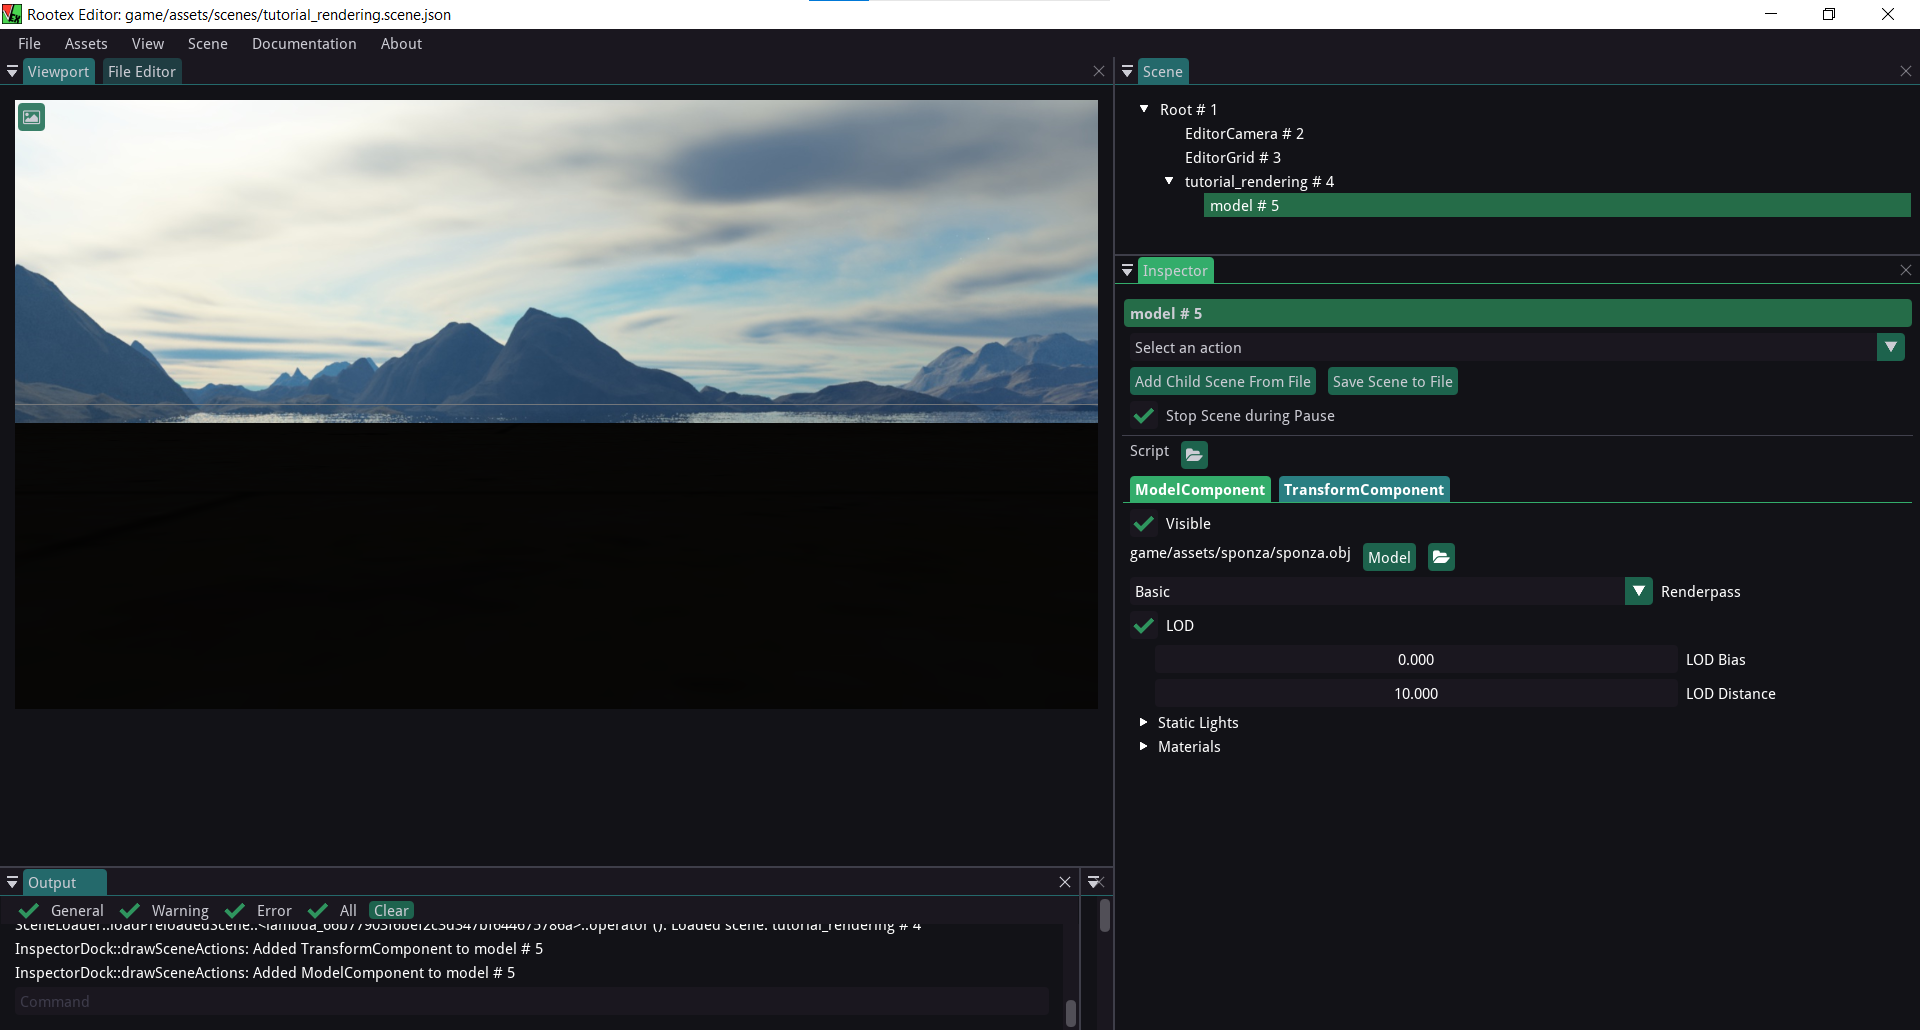
This is due to the default settings of the sponza obj file. To get a better view, set the scale to (0.031, 0.031, 0.031) and set the LOD distance to 123:
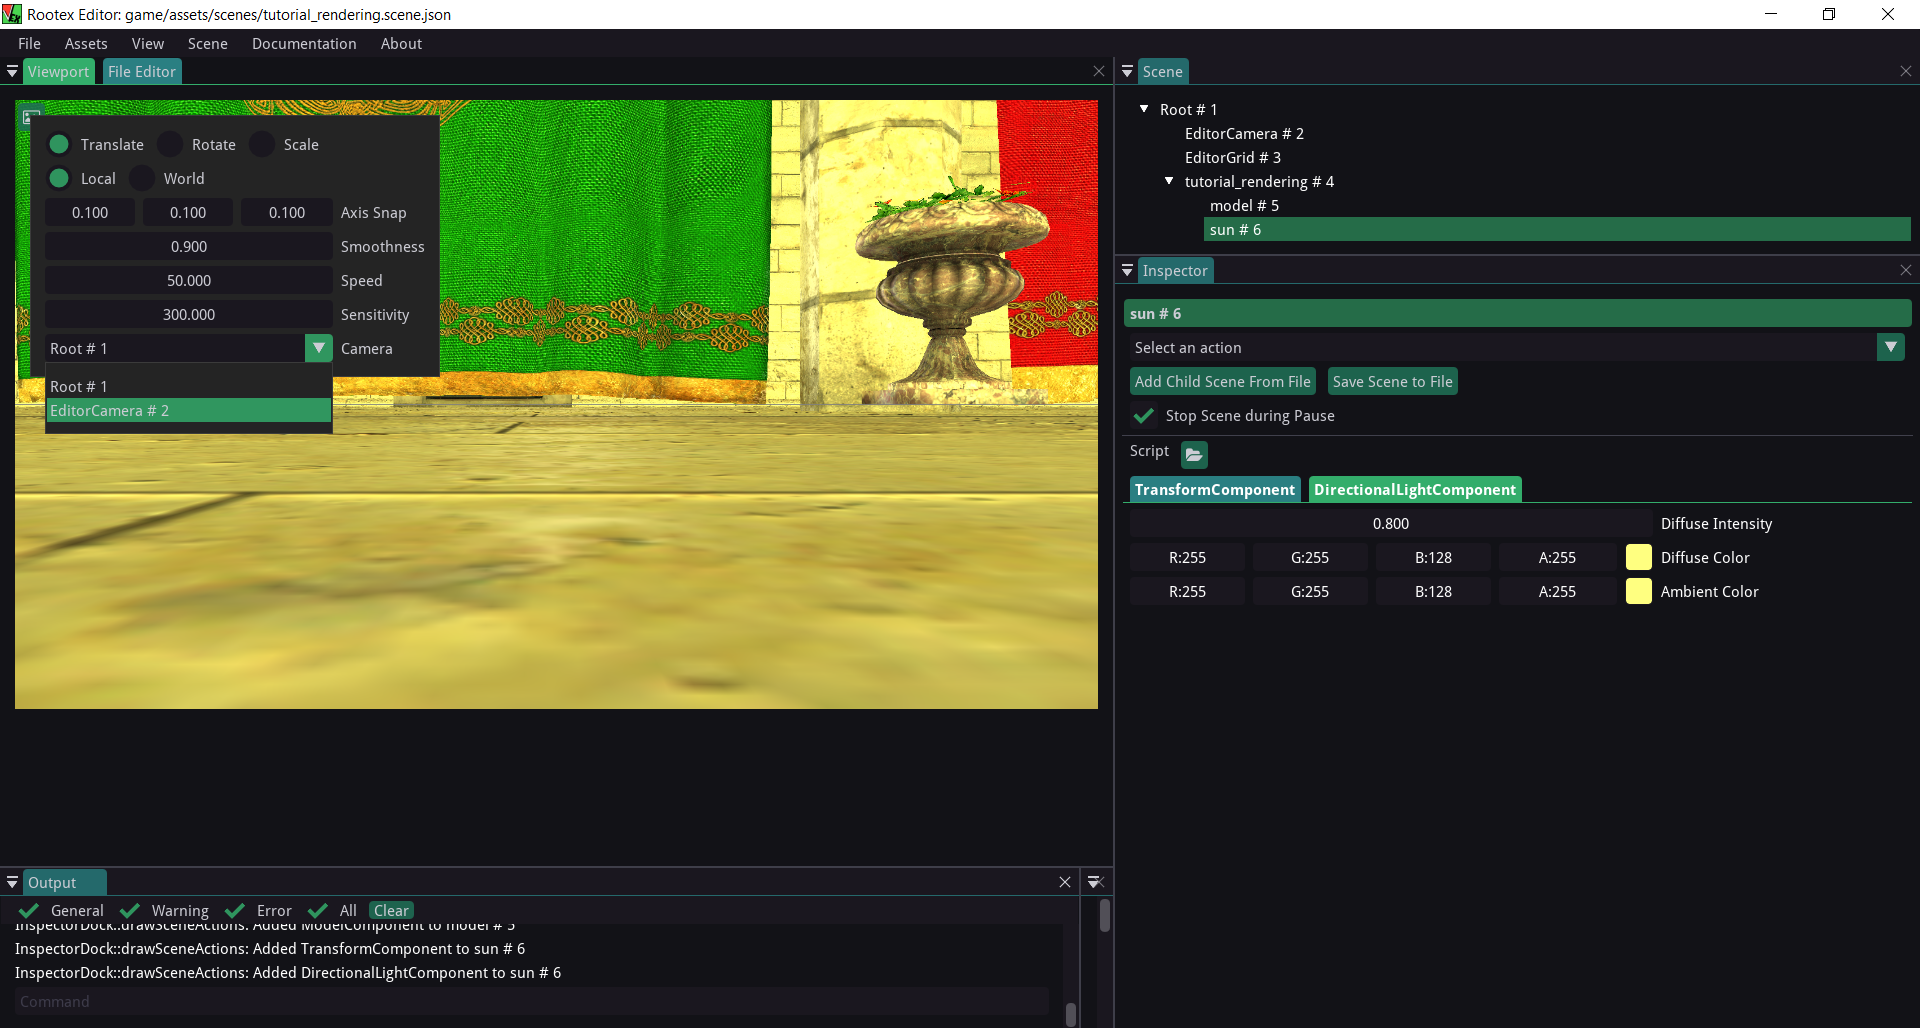
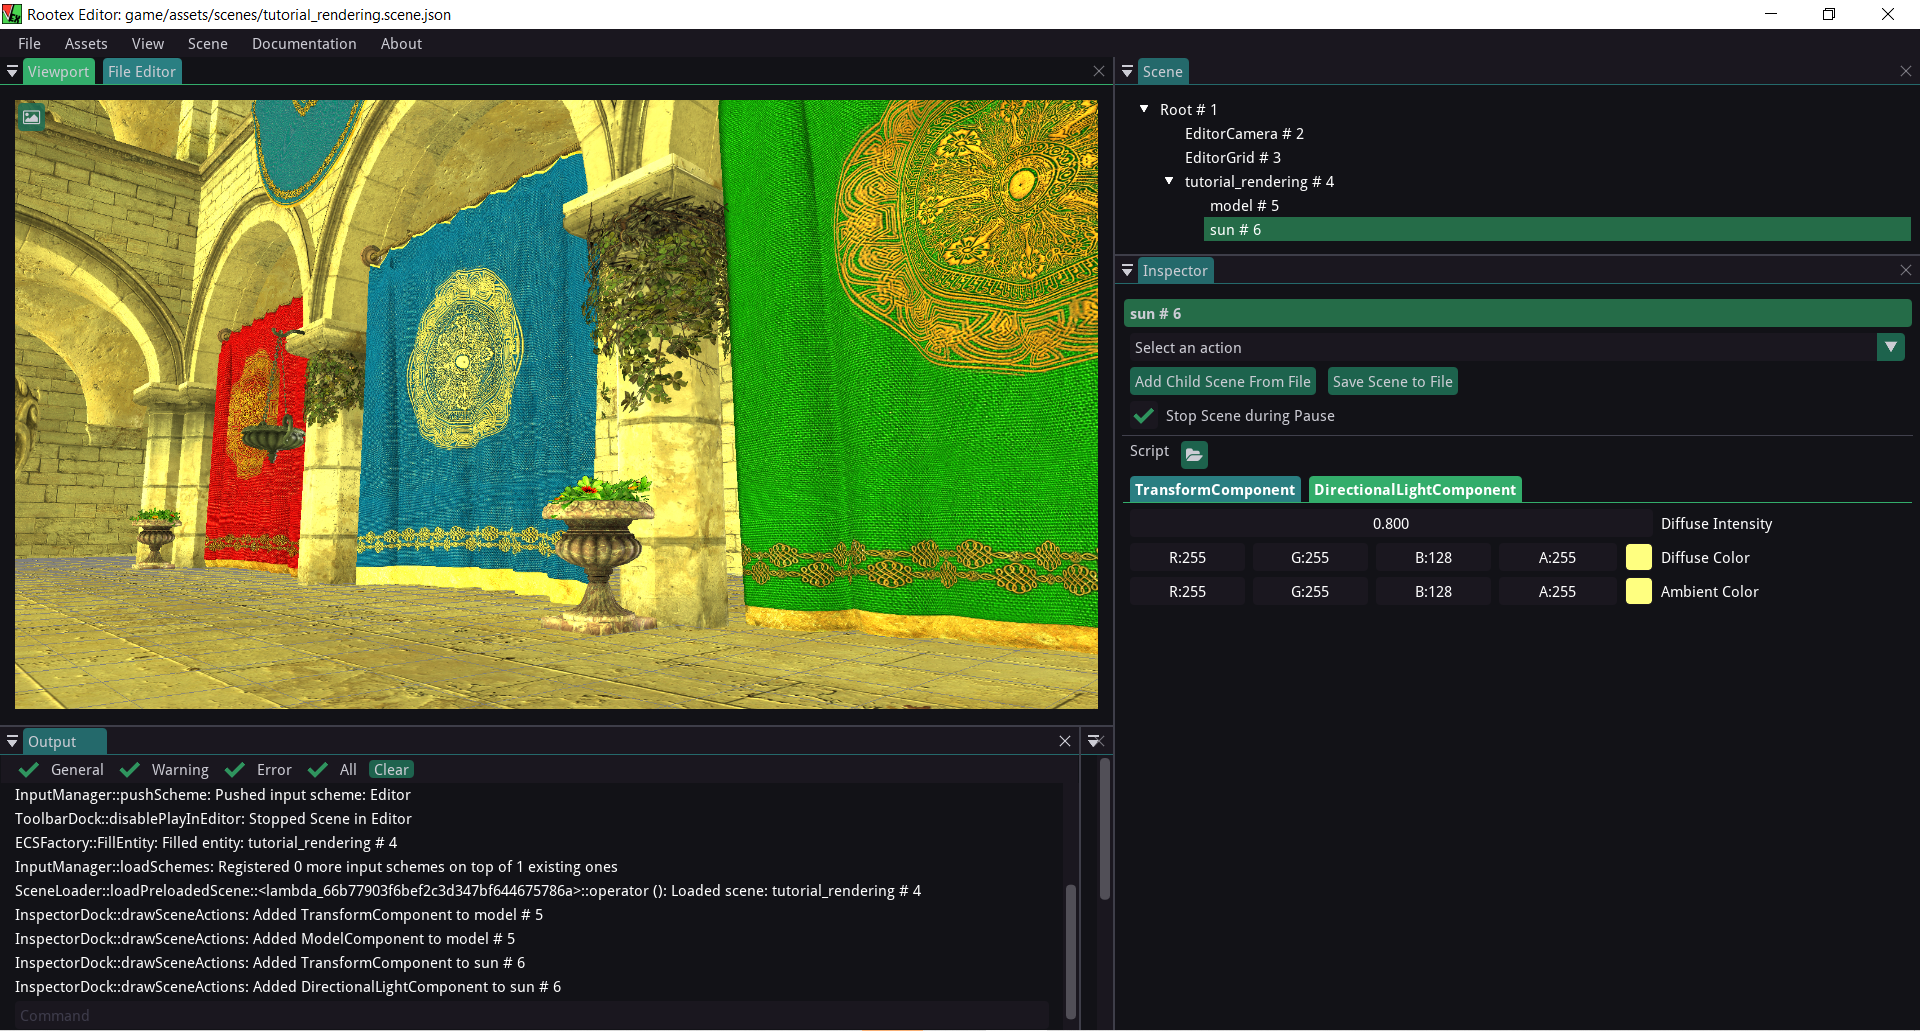
We need to create an empty scene and add a light component to it to add light.
Light Component
To add light, we now create an empty scene.
Name the scene.
Add transform and directional light components.

To move freely, we can change our camera mode to Editor Camera. This allows us to move freely.
Editor Camera
To have complete control of movement, you can use an editor camera.
Click the figure icon at the top left of the viewport.
Open dropdown of camera.
Select editor camera.
To move, you have to hold the right mouse button and then use WASD space and shift keys to move. The cursor for direction. Space to move up and shift to move down.
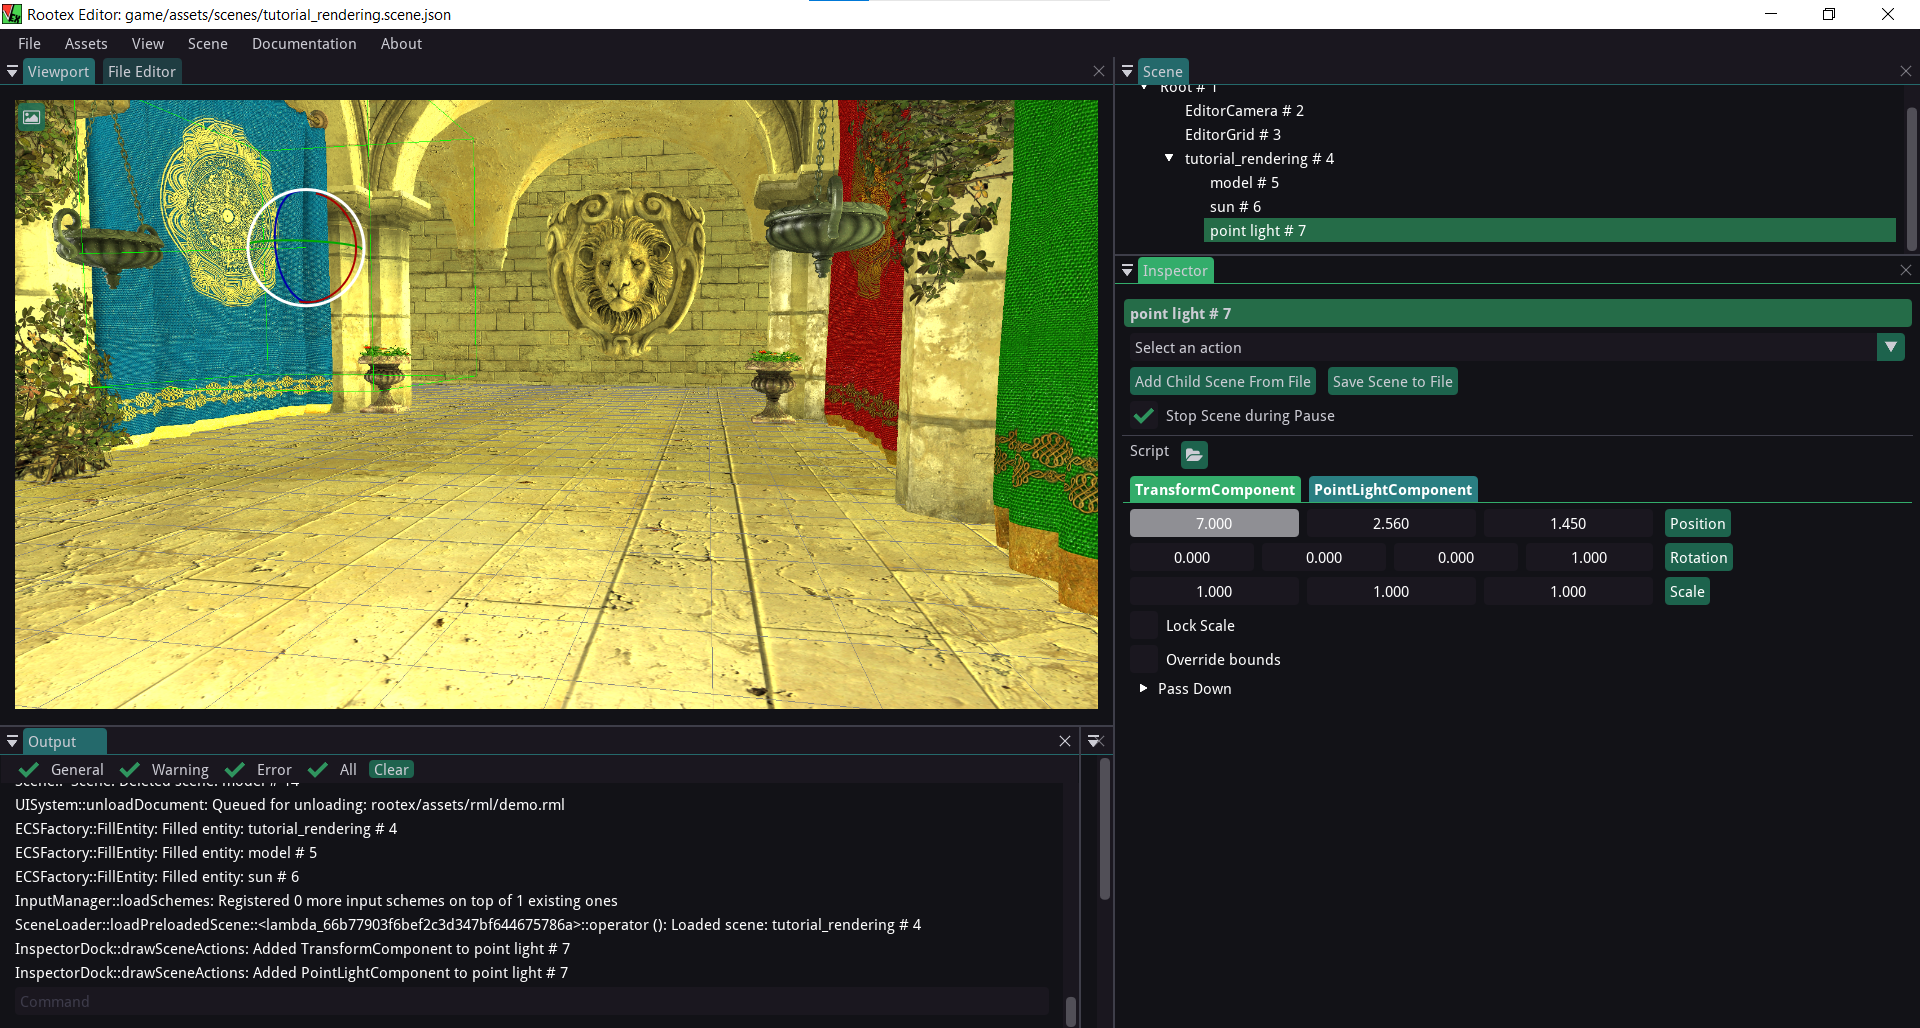
Point Light
A point light is helpful if you have a source of light, e.g. a candle, bulb etc. To add a point light, follow the given steps.
Add an empty scene and give it a point light component.
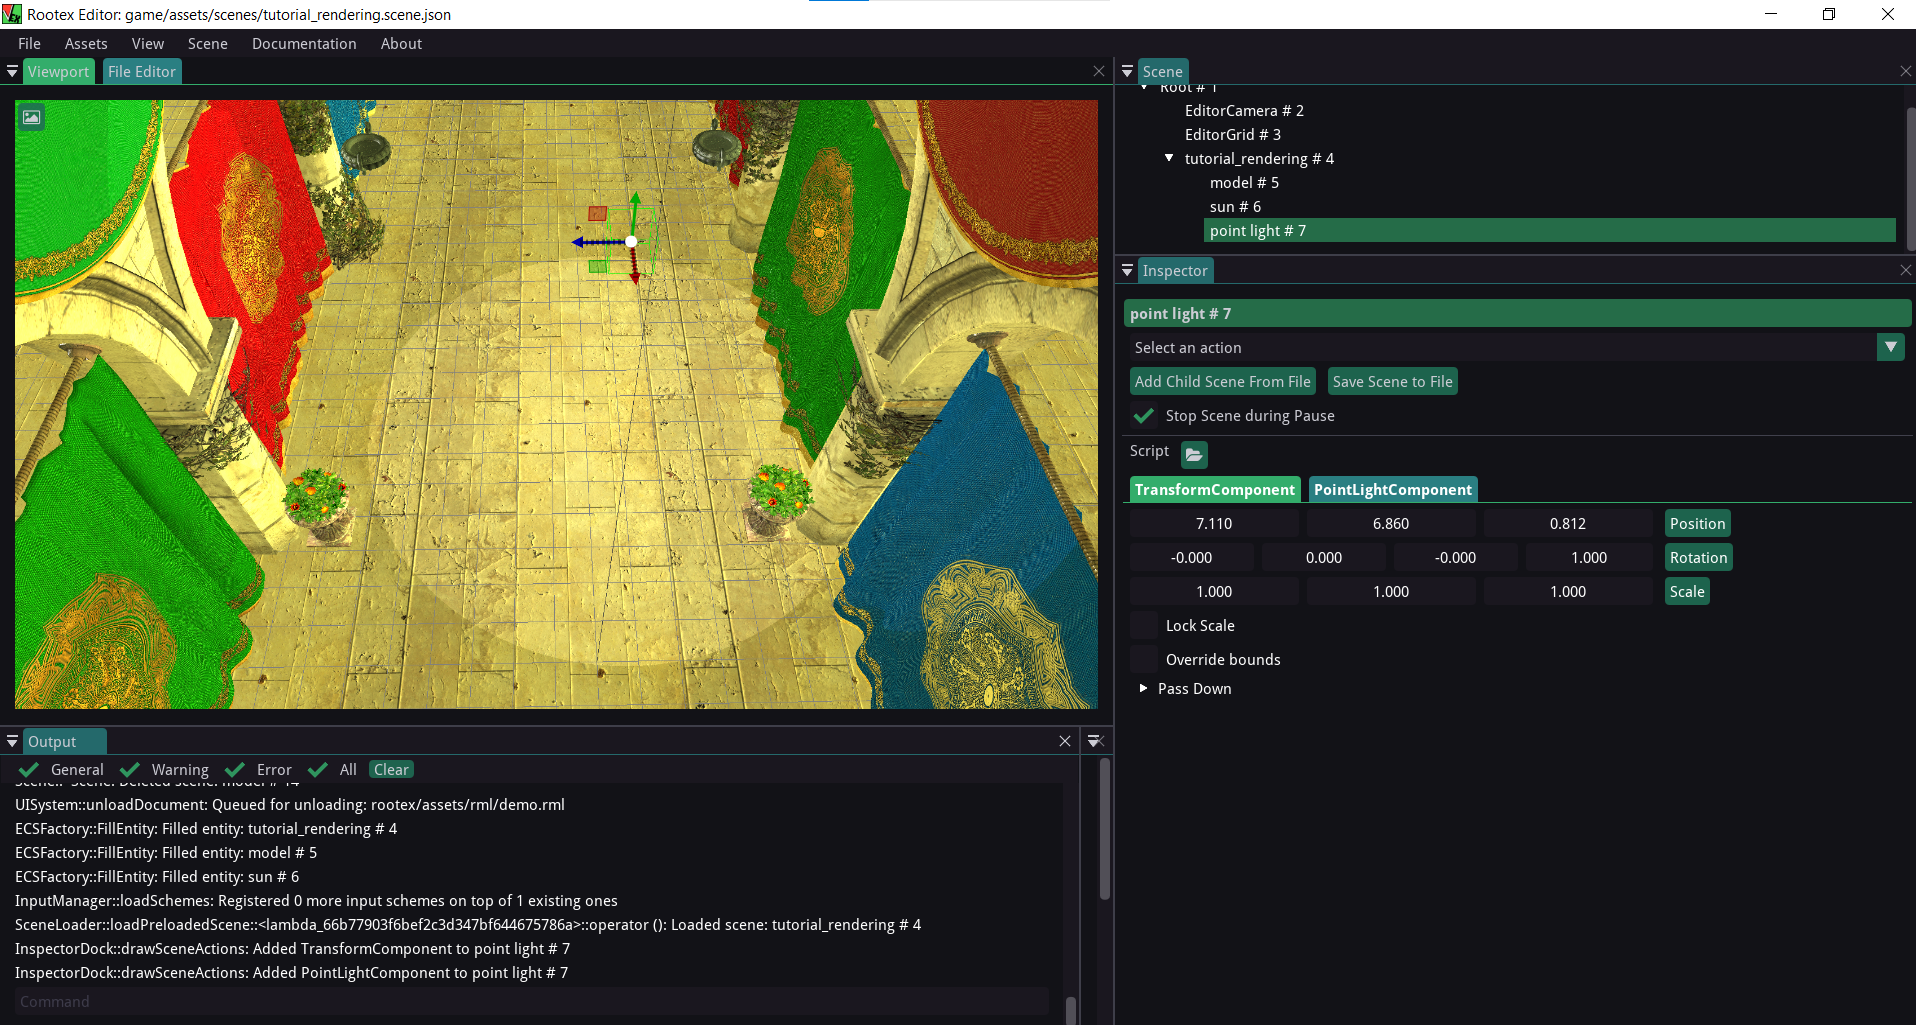
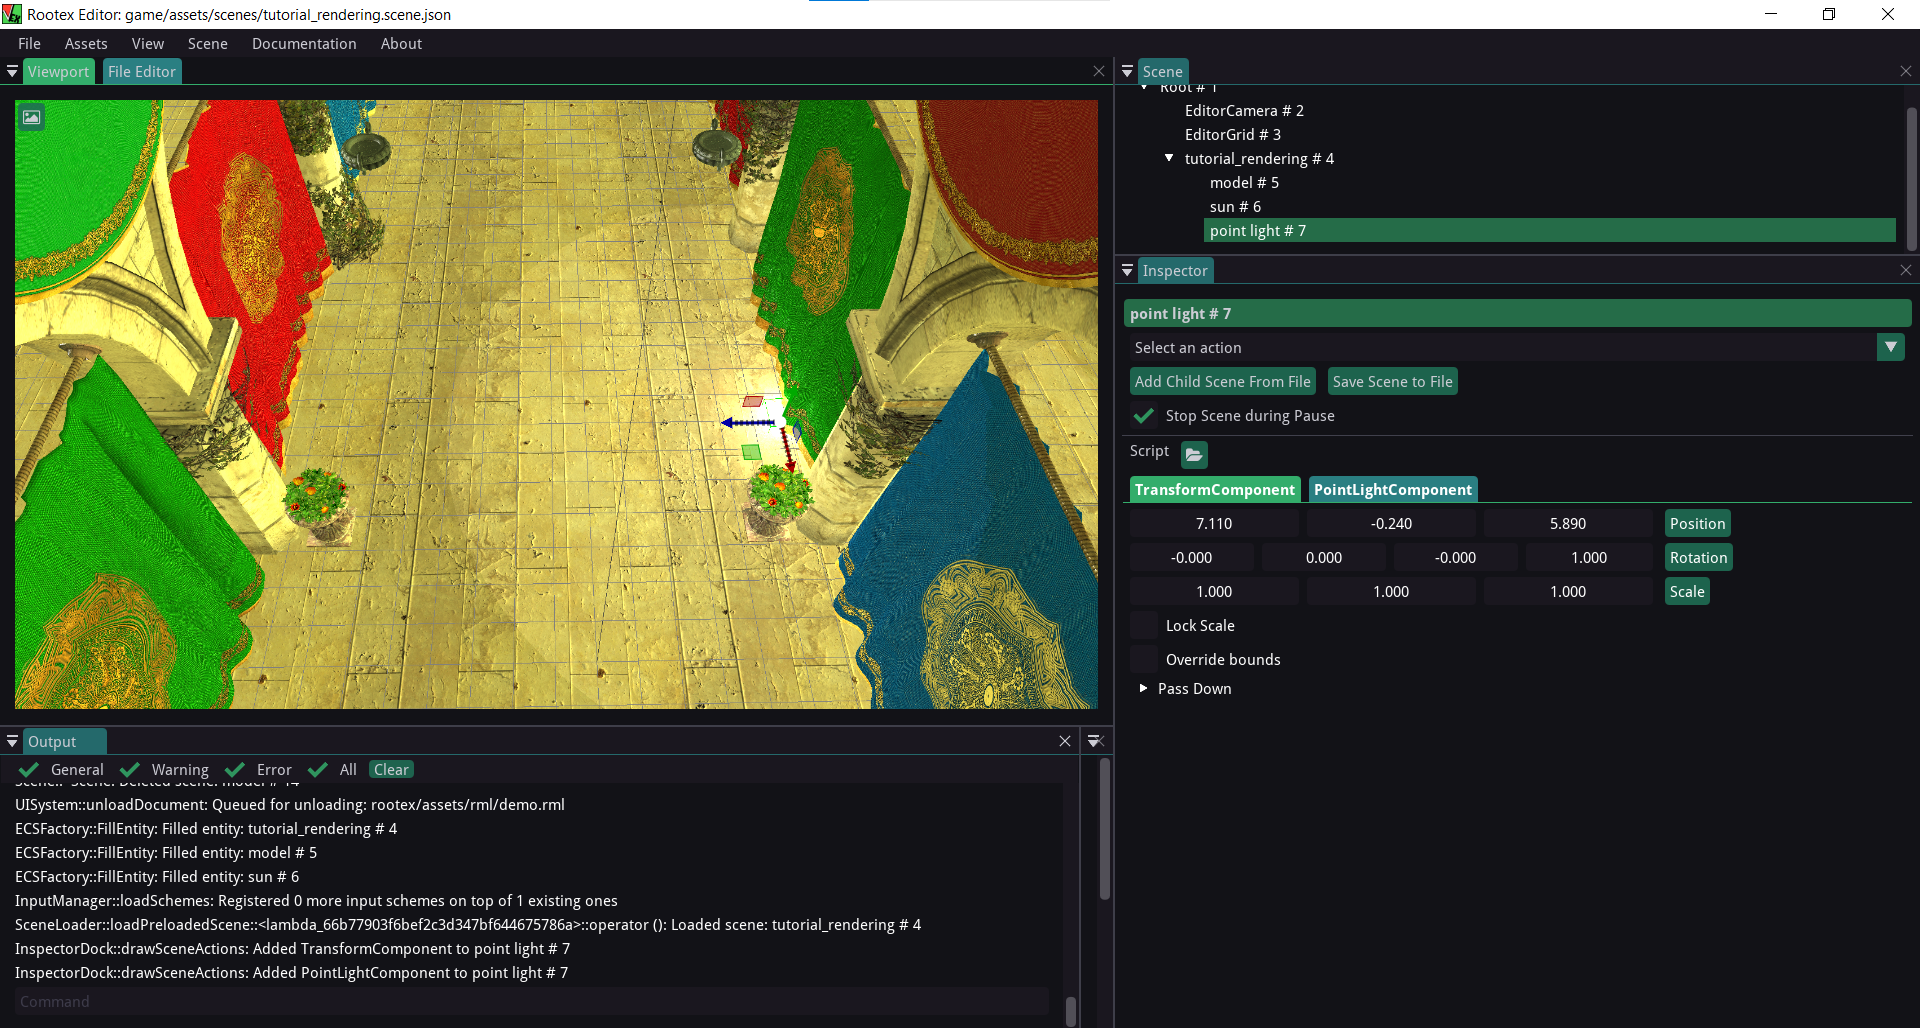
You can tweak its transformation value by either inputting it or dragging it left or right.
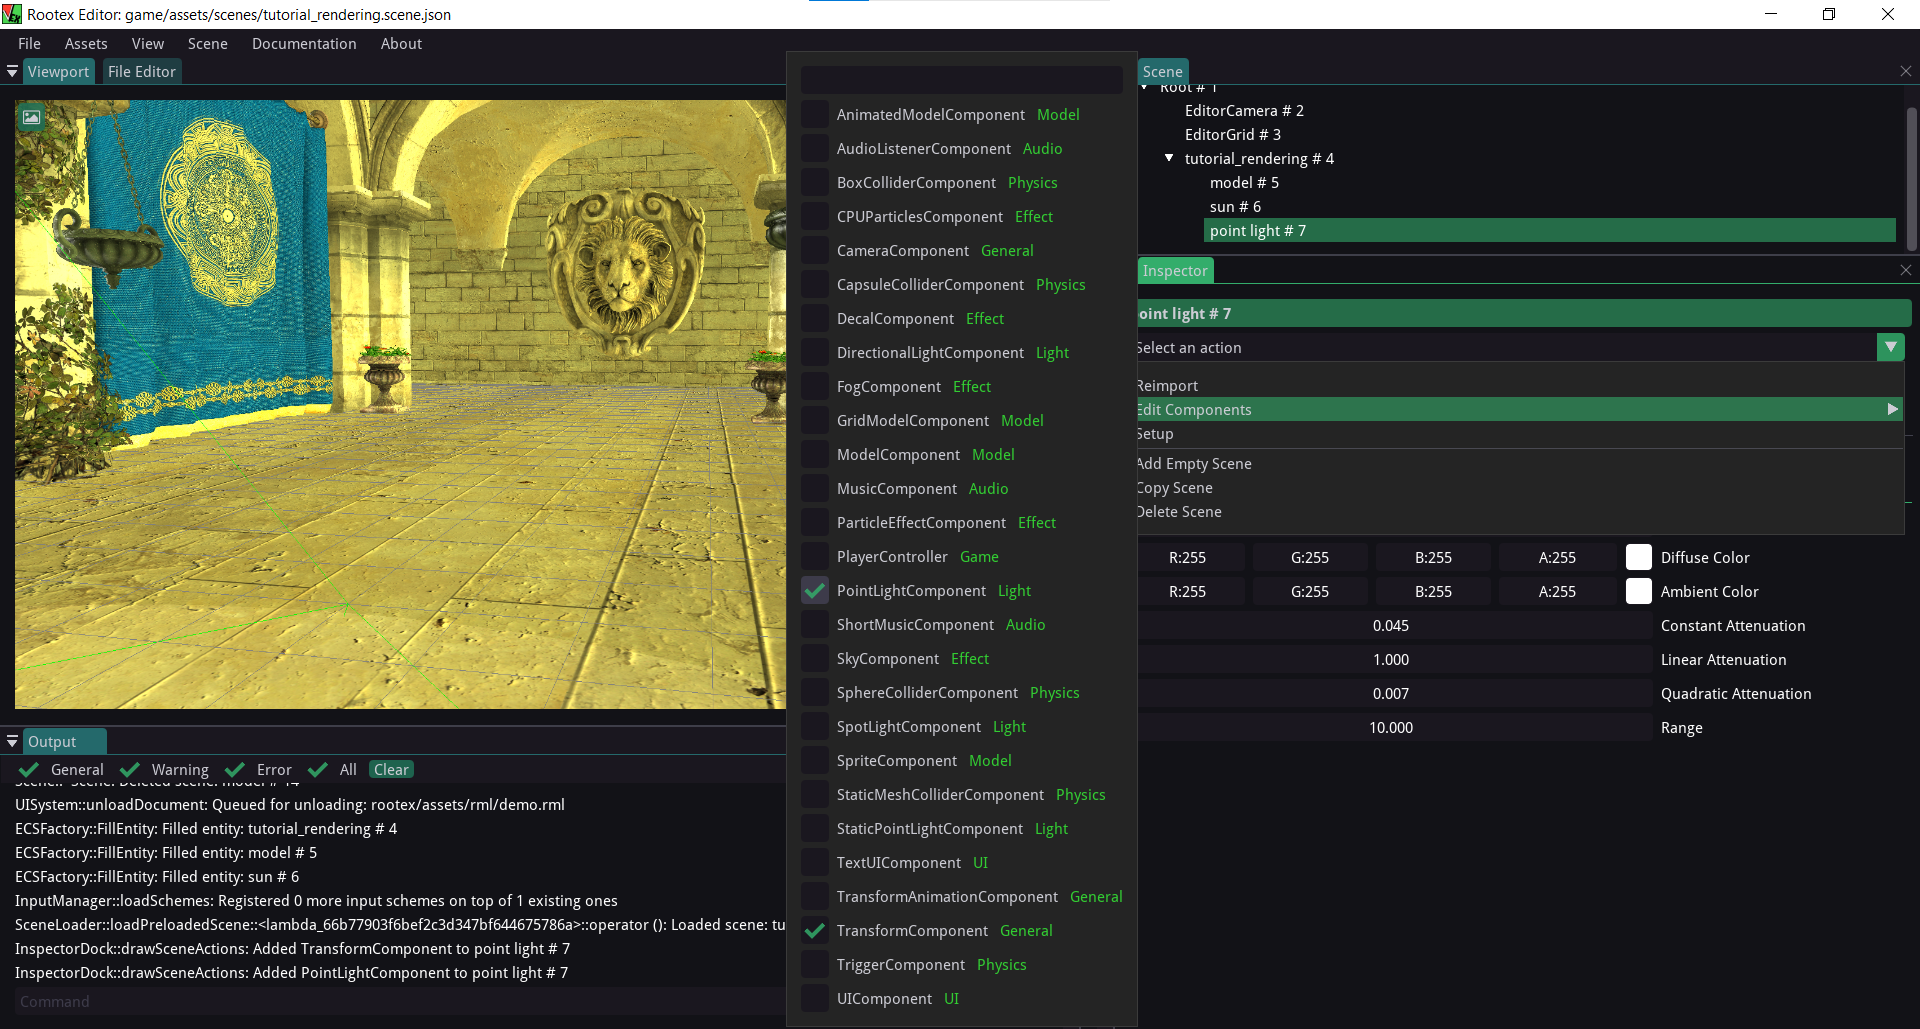
If you press ‘q’, a transform gizmo will appear on the object you have selected. You can adjust light location through it. For rotation and scaling gizmo, press ‘w’ and ‘e’, respectively.
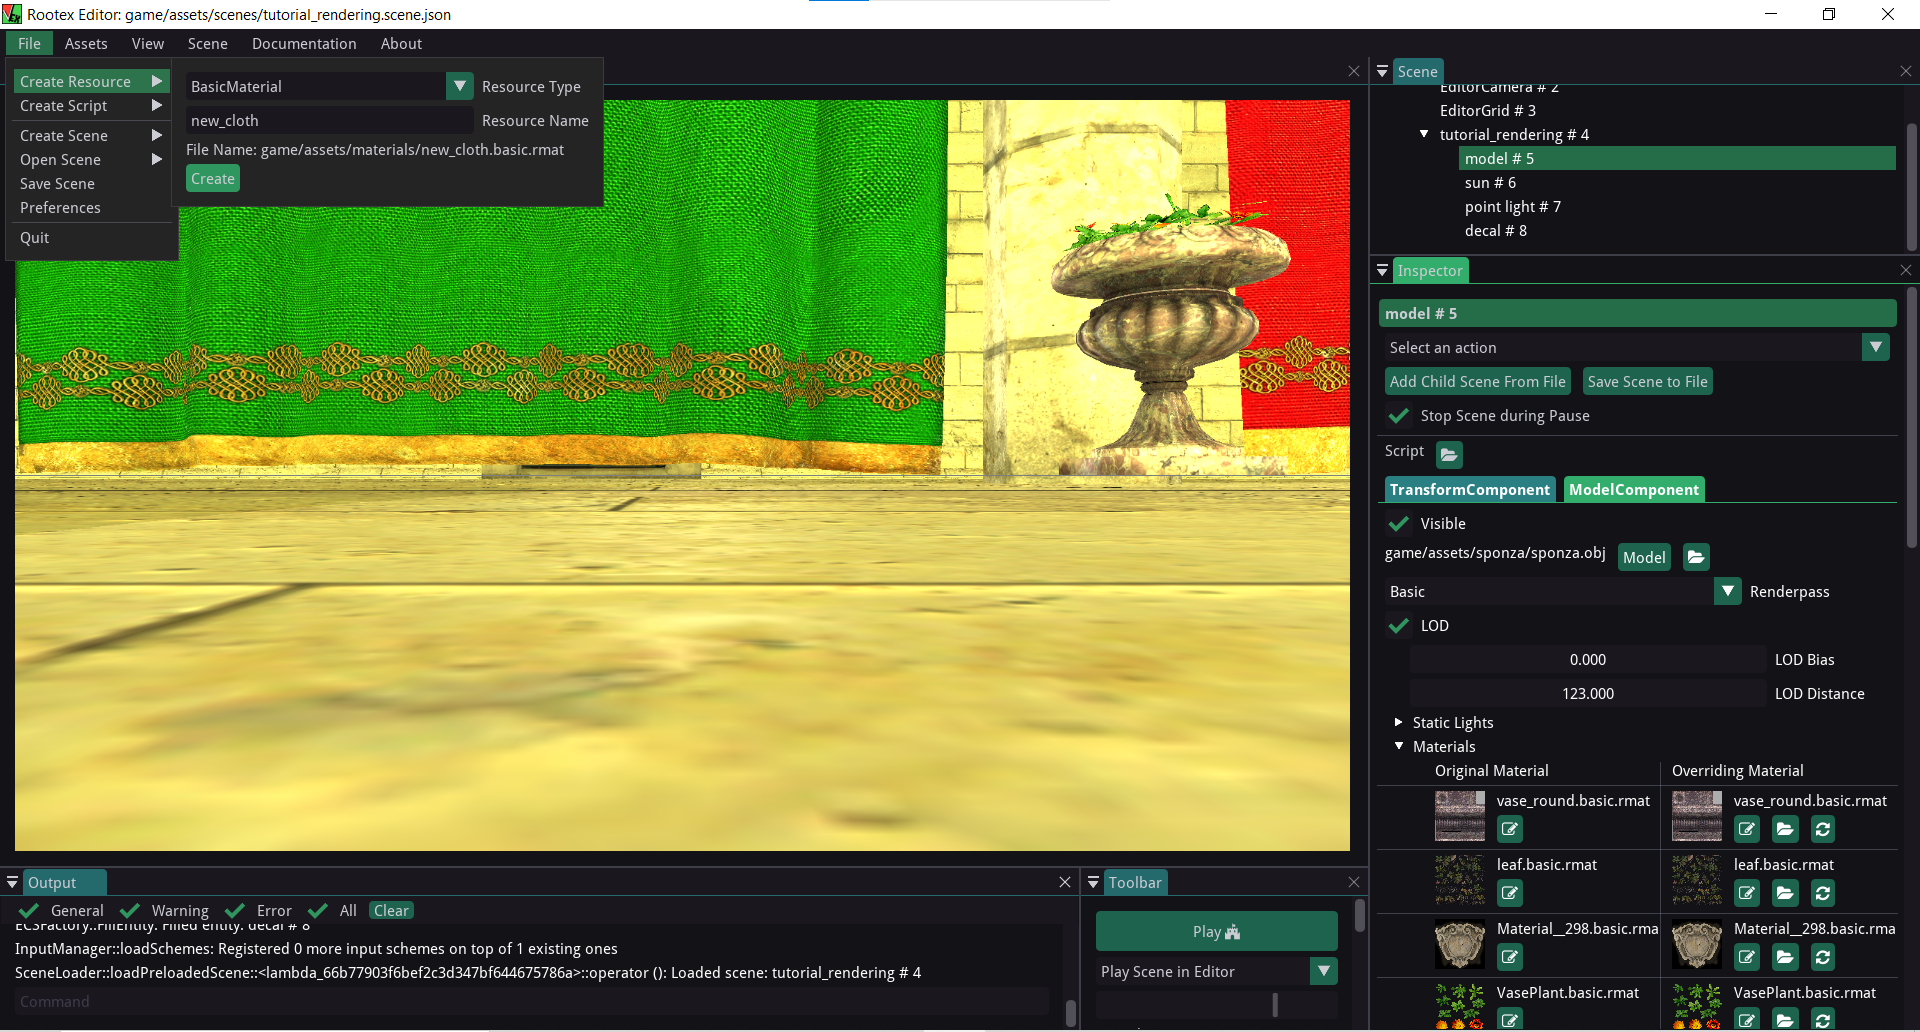
Overriding a material
To change the properties of one object without changing the original material, we can use overriding materials. To override a material:
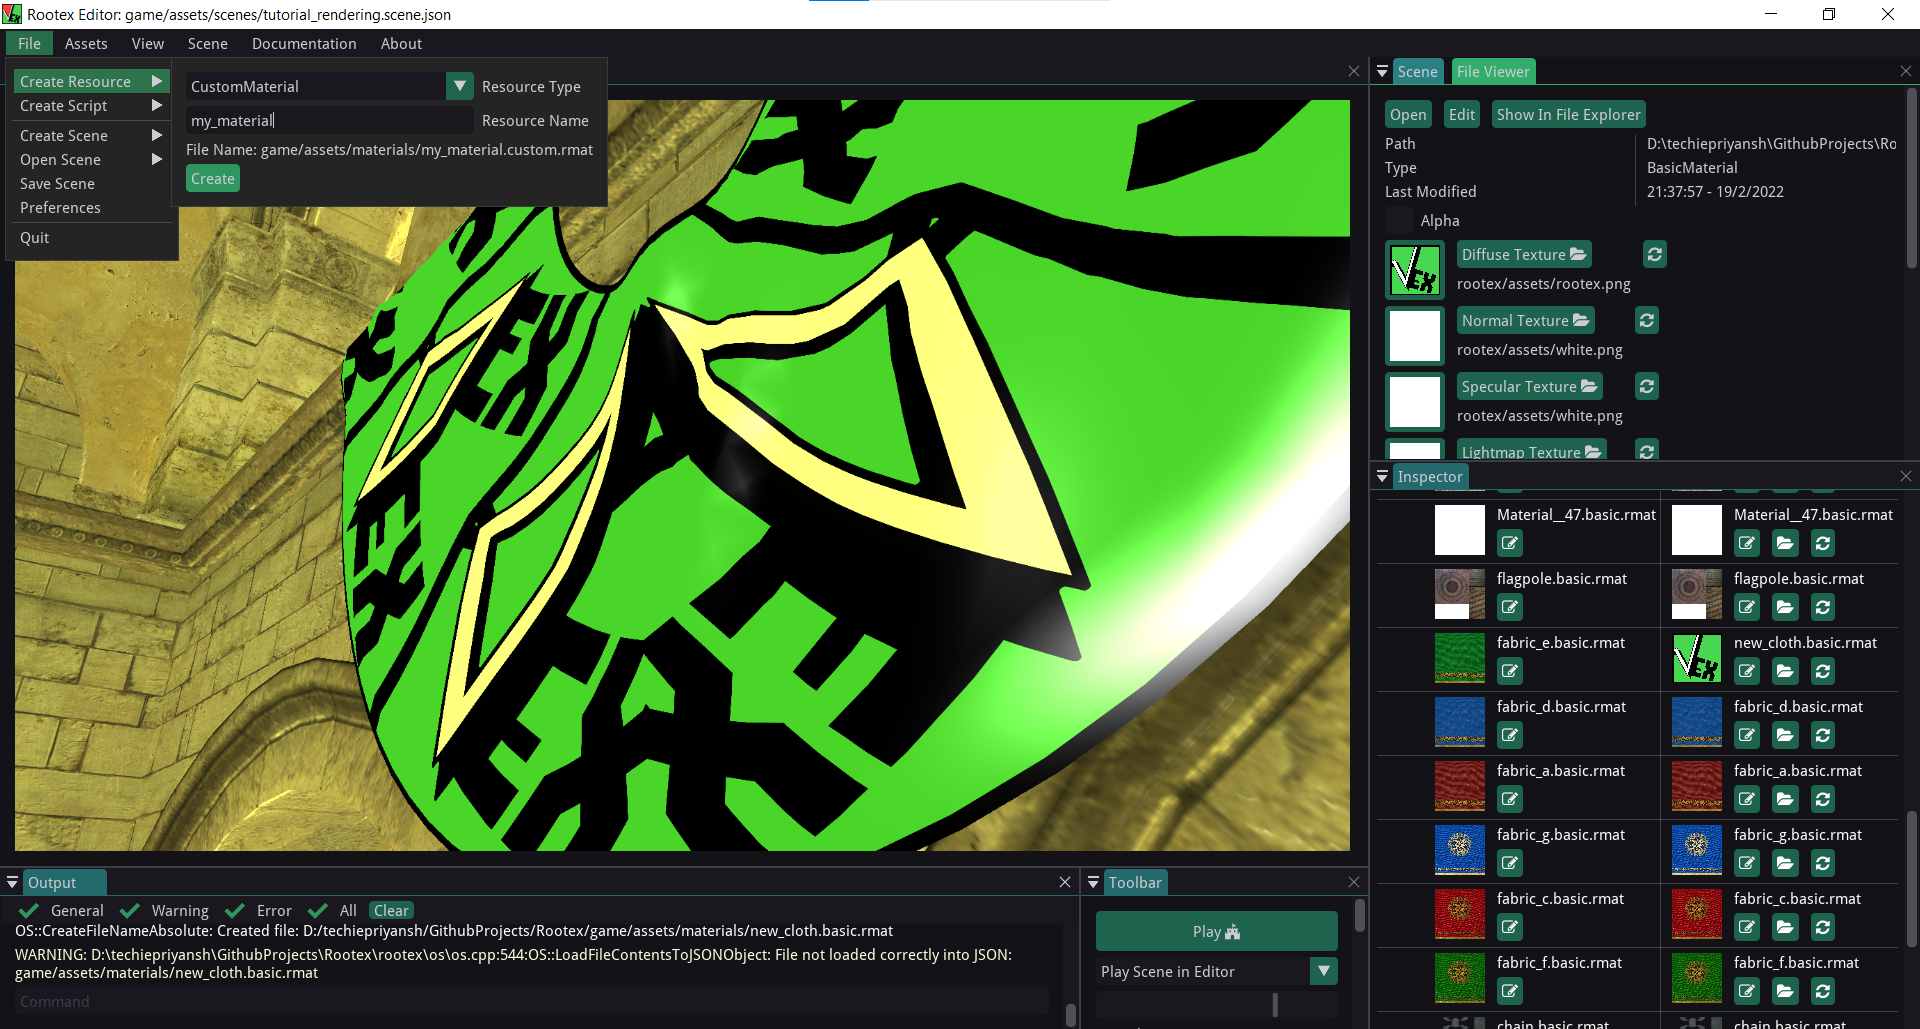
Create a new basic material by going to file -> Create Resource.
Name the material and click create.
Go to the
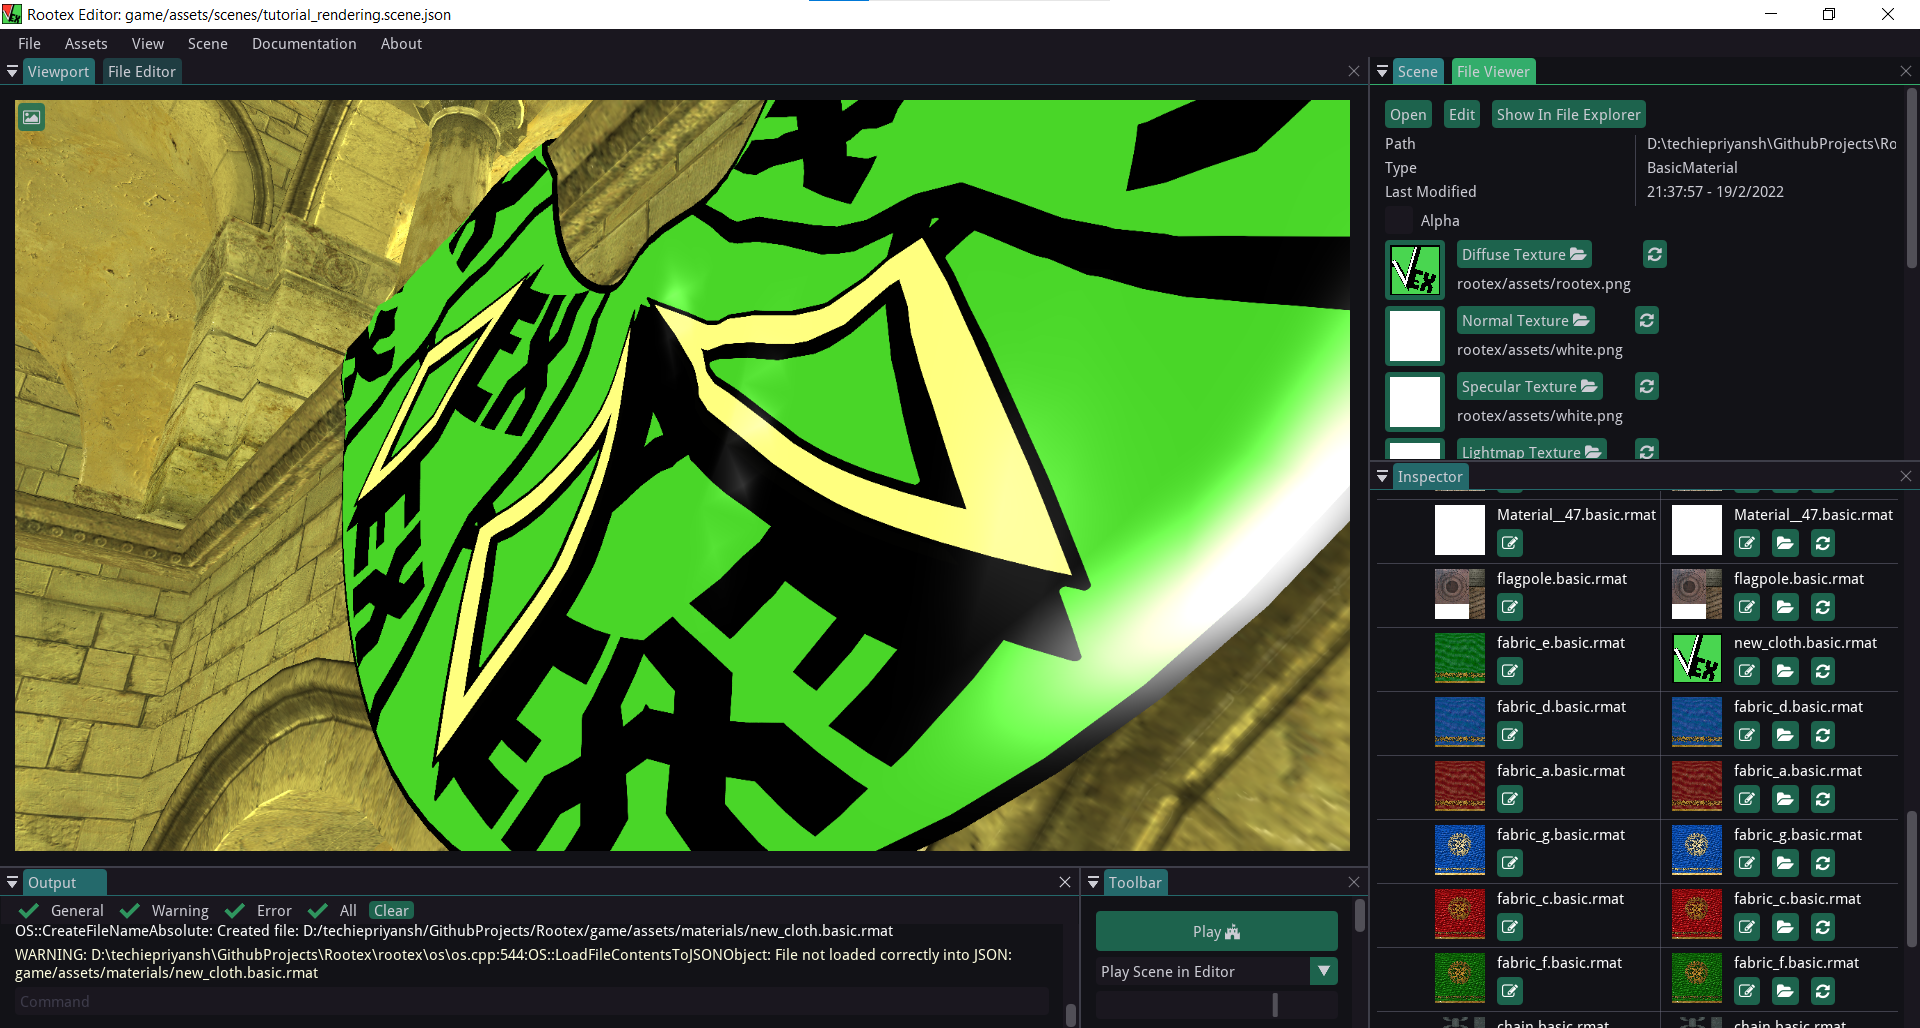
Inspector-> Model Component->Materials.Click on the folder icon on the corresponding overriding material.
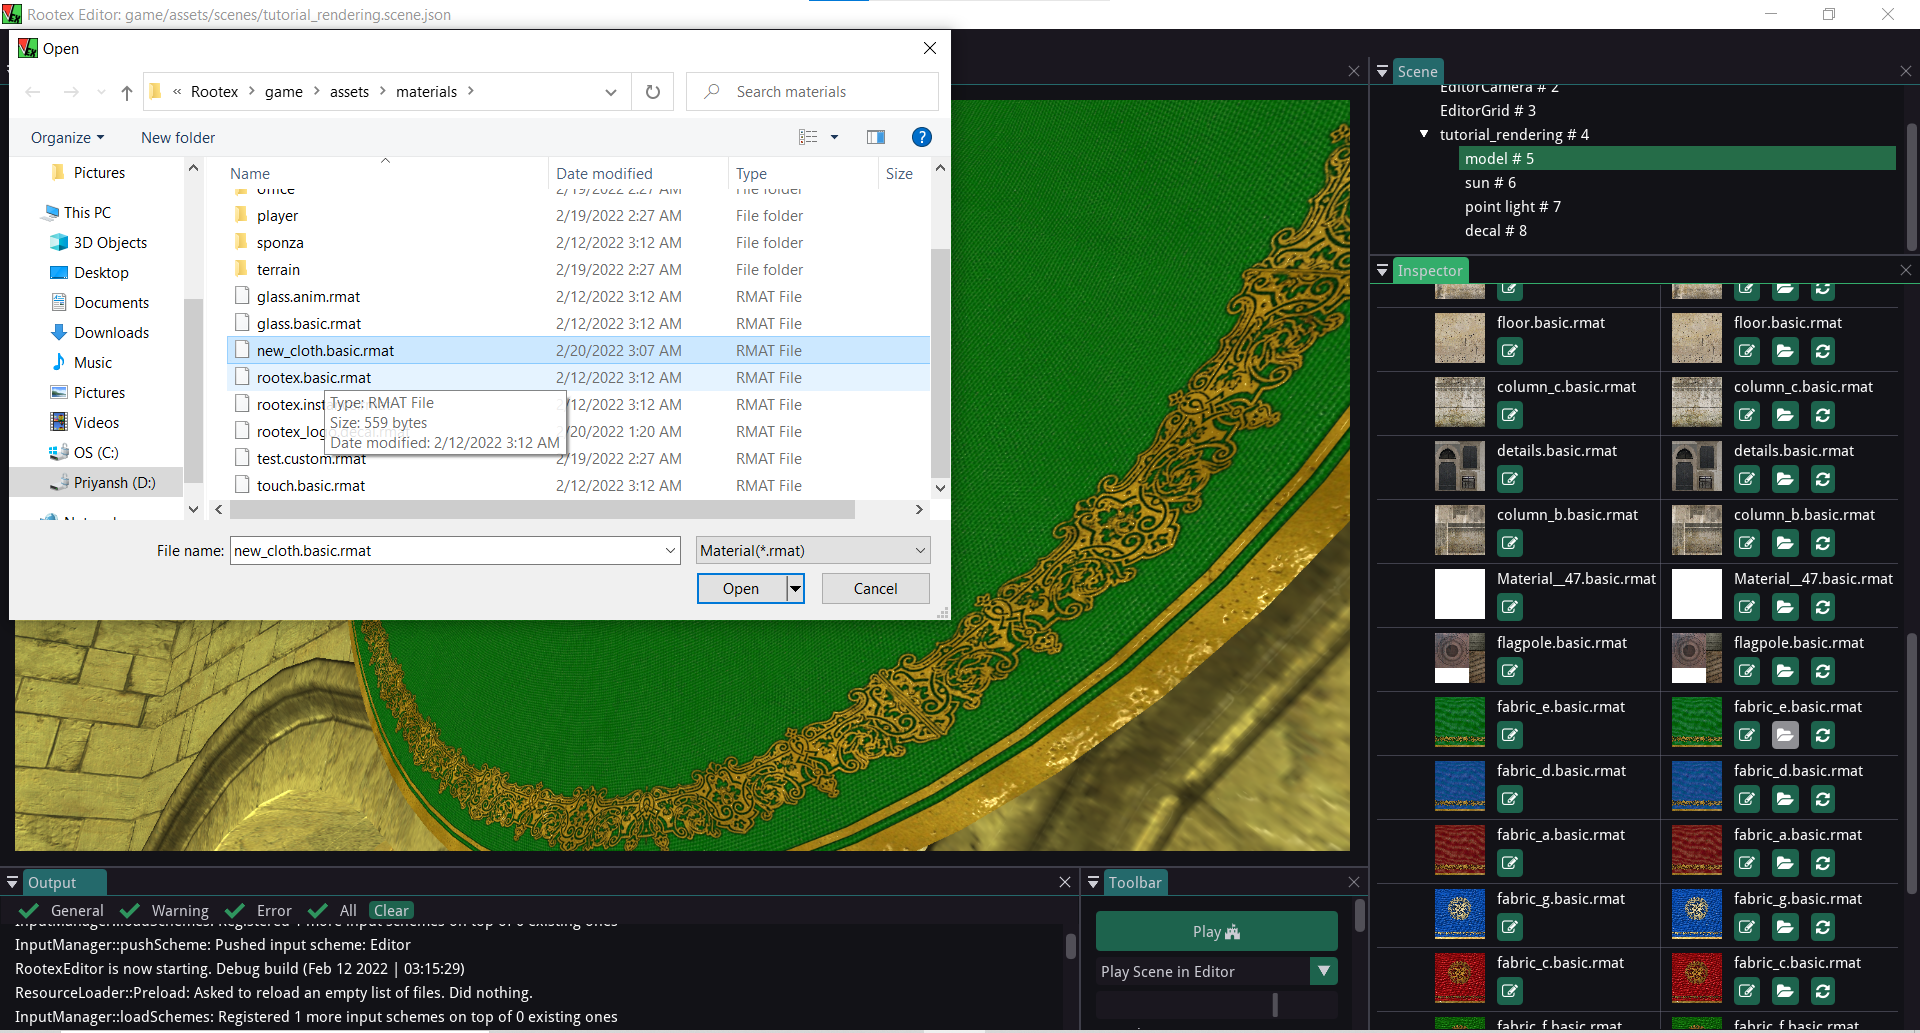
Select the newly created basic material located at
Rootex\game\assets\materials\new_cloth.basic.rmat
Now you can change its basic textures by 1)clicking on the pencil icon 2)In the file viewer now click on the diffuse texture and select the appropriate diffuse texture.
Custom Material
Go to create Resource -> Custom Material.
Enter material name.
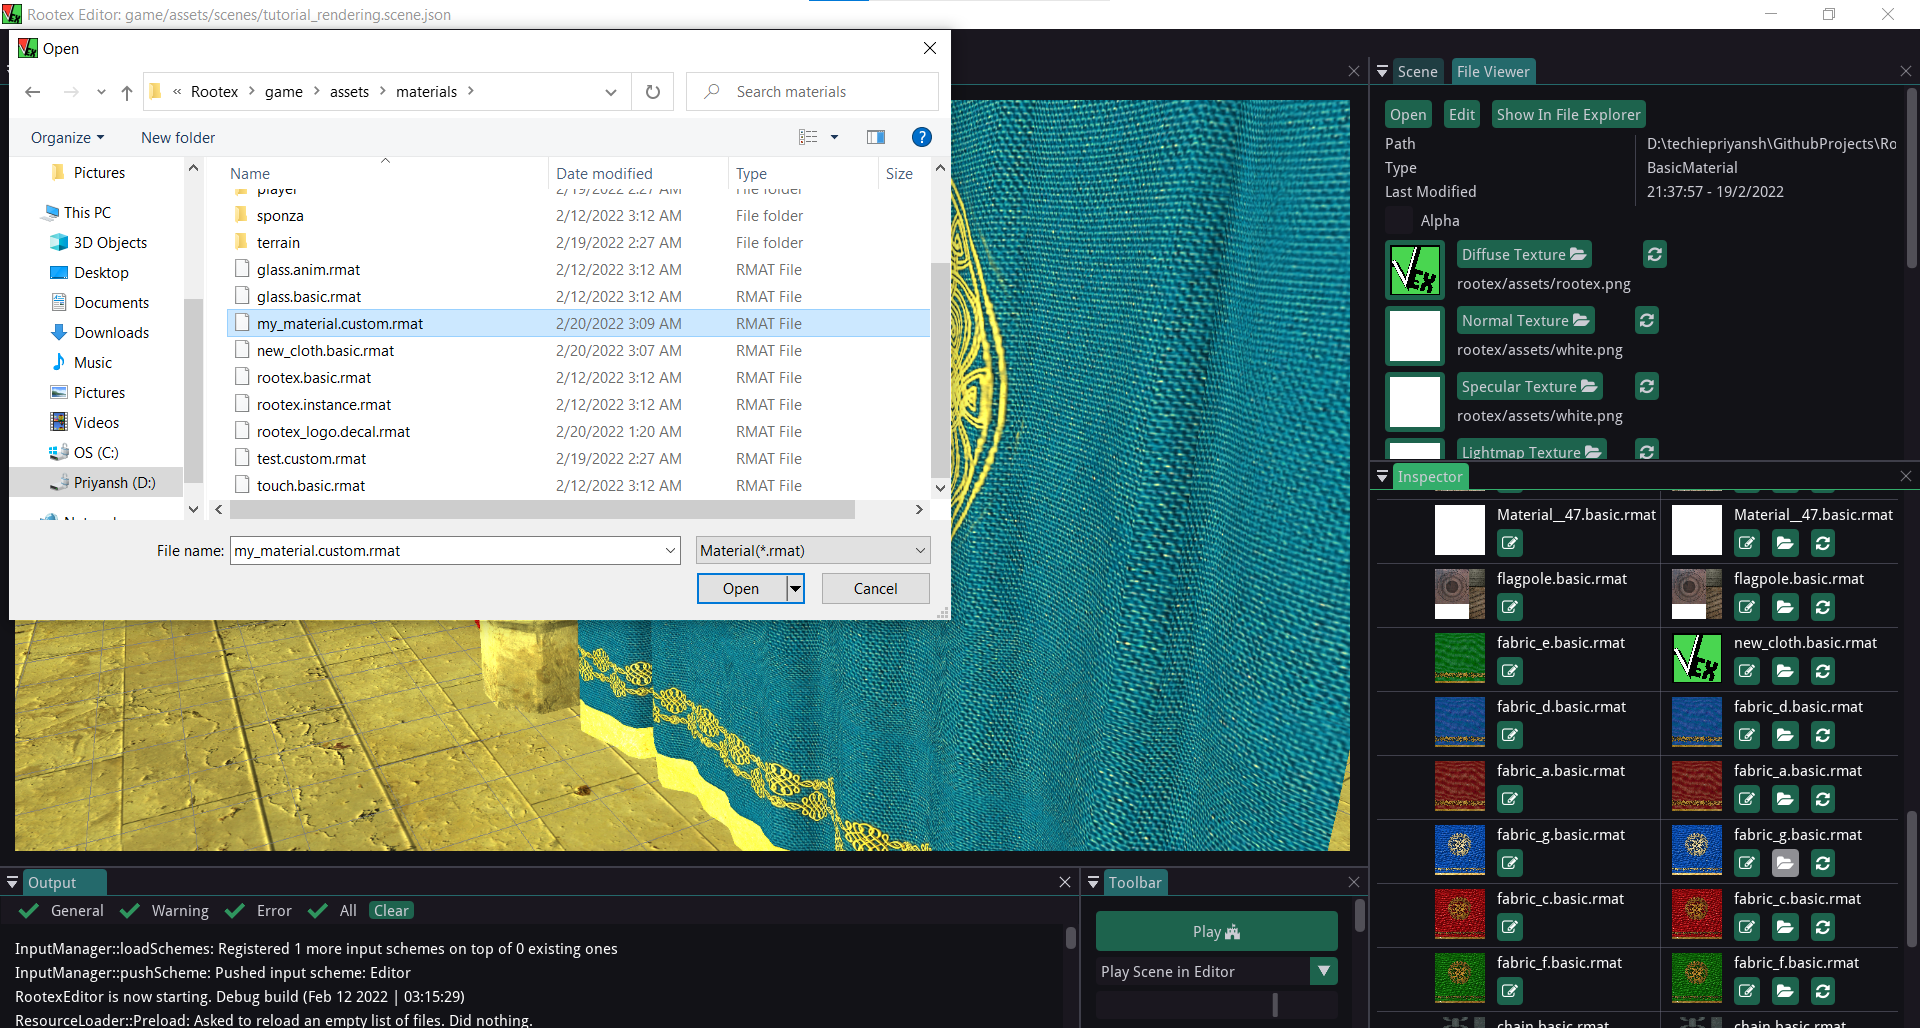
Now go to Inspector -> ModelComponent and then to Materials.
Click on the folder icon and choose the material.
Adding a shader
To Add shader:
Click on the pencil icon on the overriding custom material.
Now, in the file viewer you’ll get options to add vertex and pixel shaders.
Click on the pixel shader. A dialog box will open now you can just select the shader.
You can use fire_pixel_shader from rootex/core/renderer/shaders
Clicking on the pencil icon opens an editor to customise the shader.
Note
You can only add shaders to custom materials. If you want to use default material, override the original default material with custom material and then add a shader to the overriding material. The overriding material does inherit the textures of the original materials.
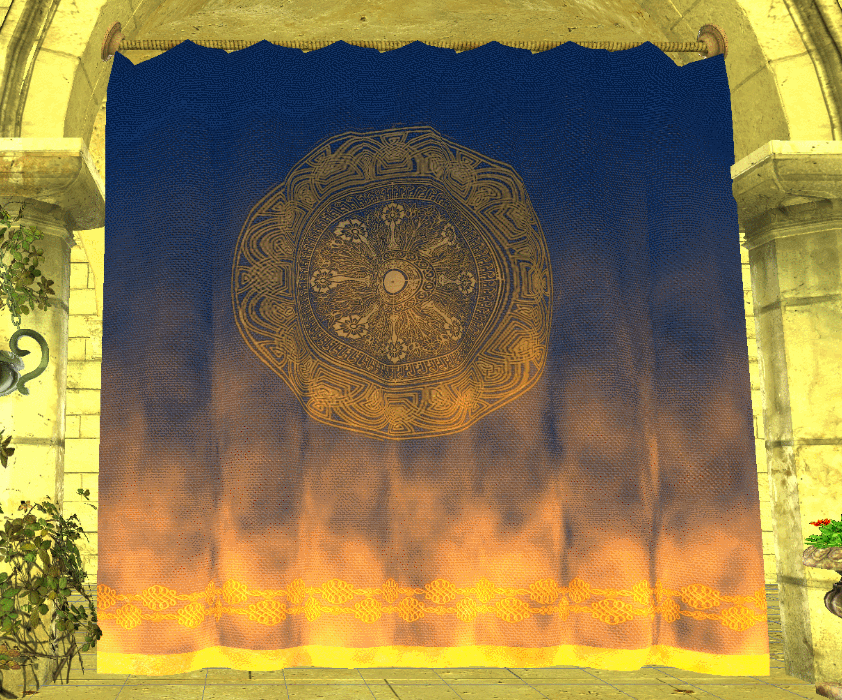
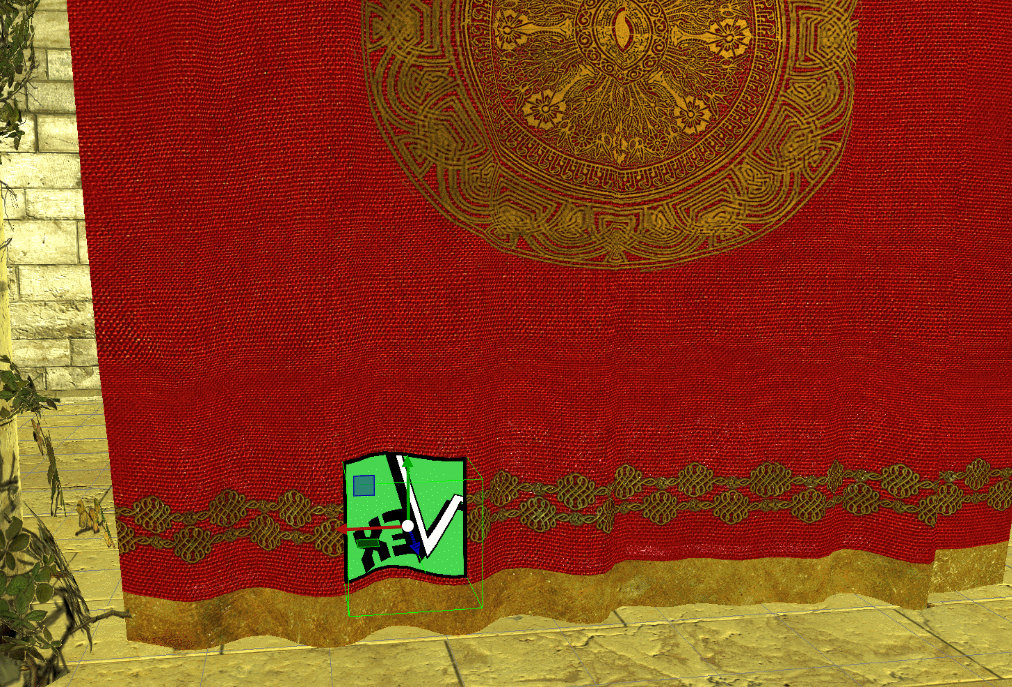
Decal Component
To add a decal component.
Make a scene DECAL and give it transform and Decal Component.
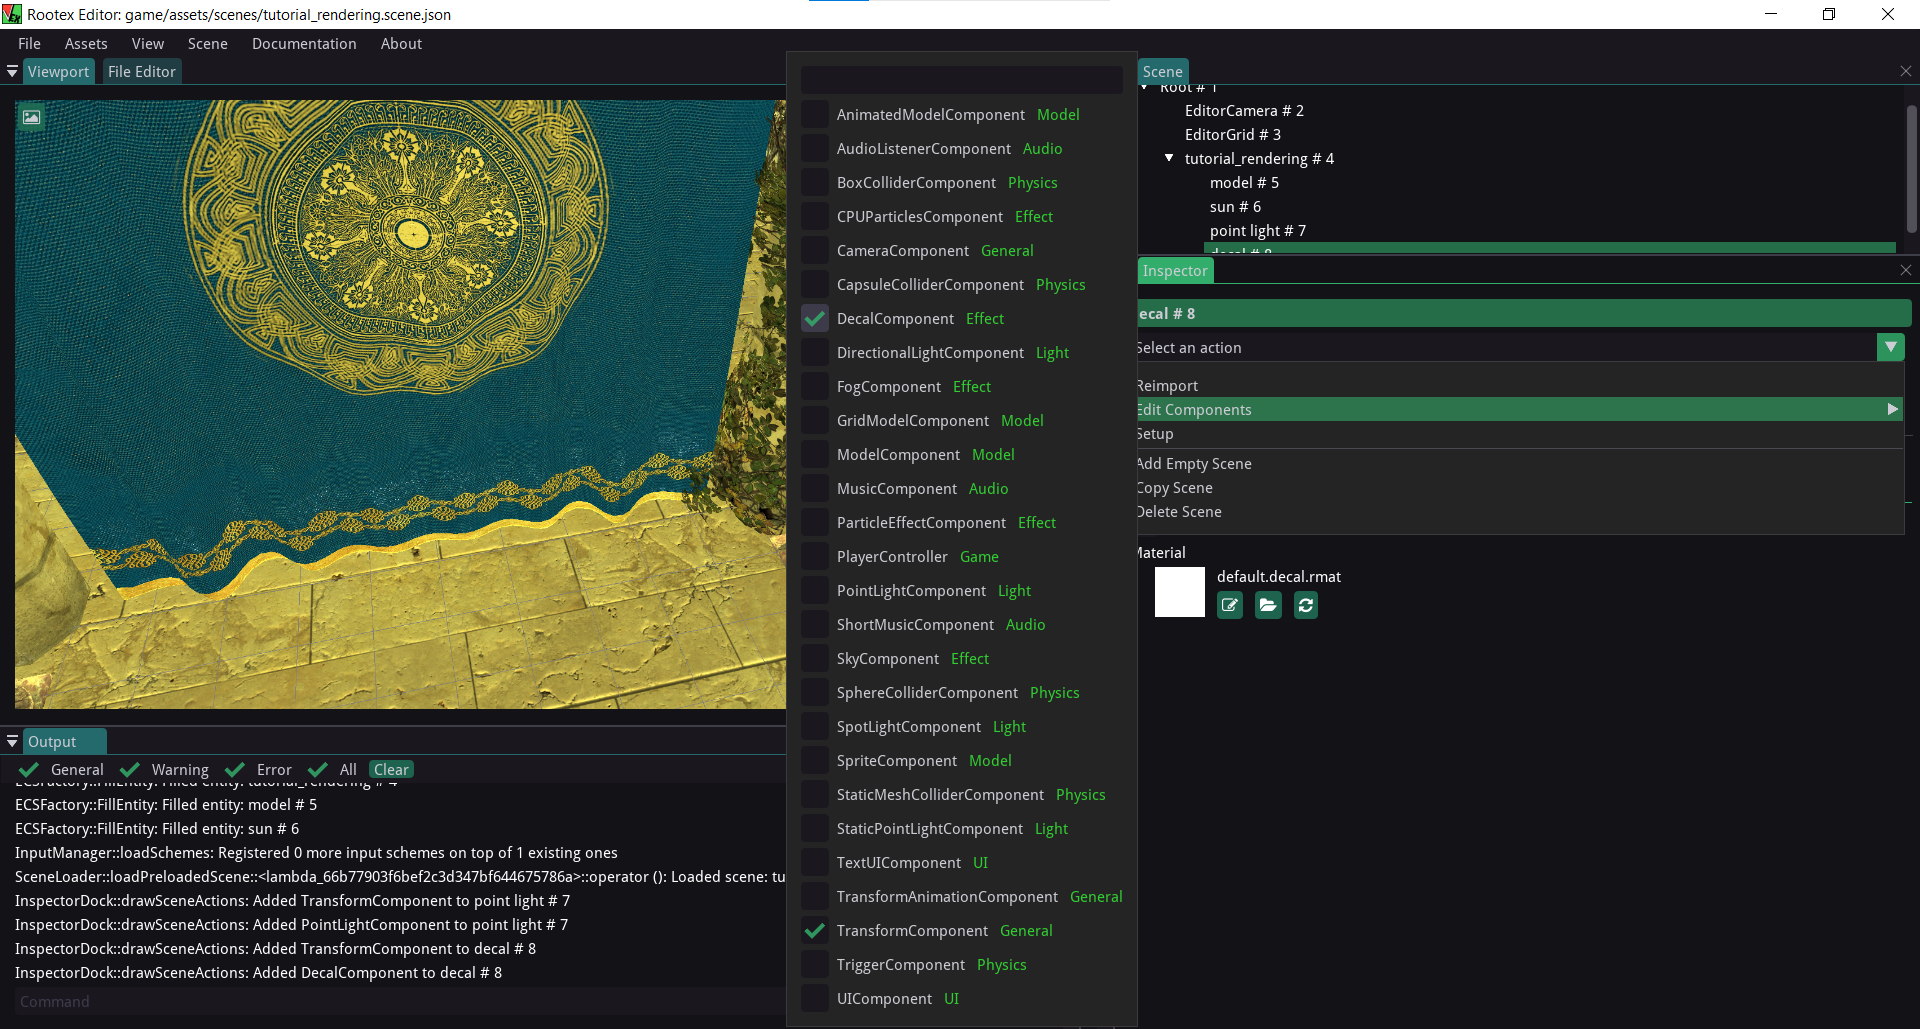
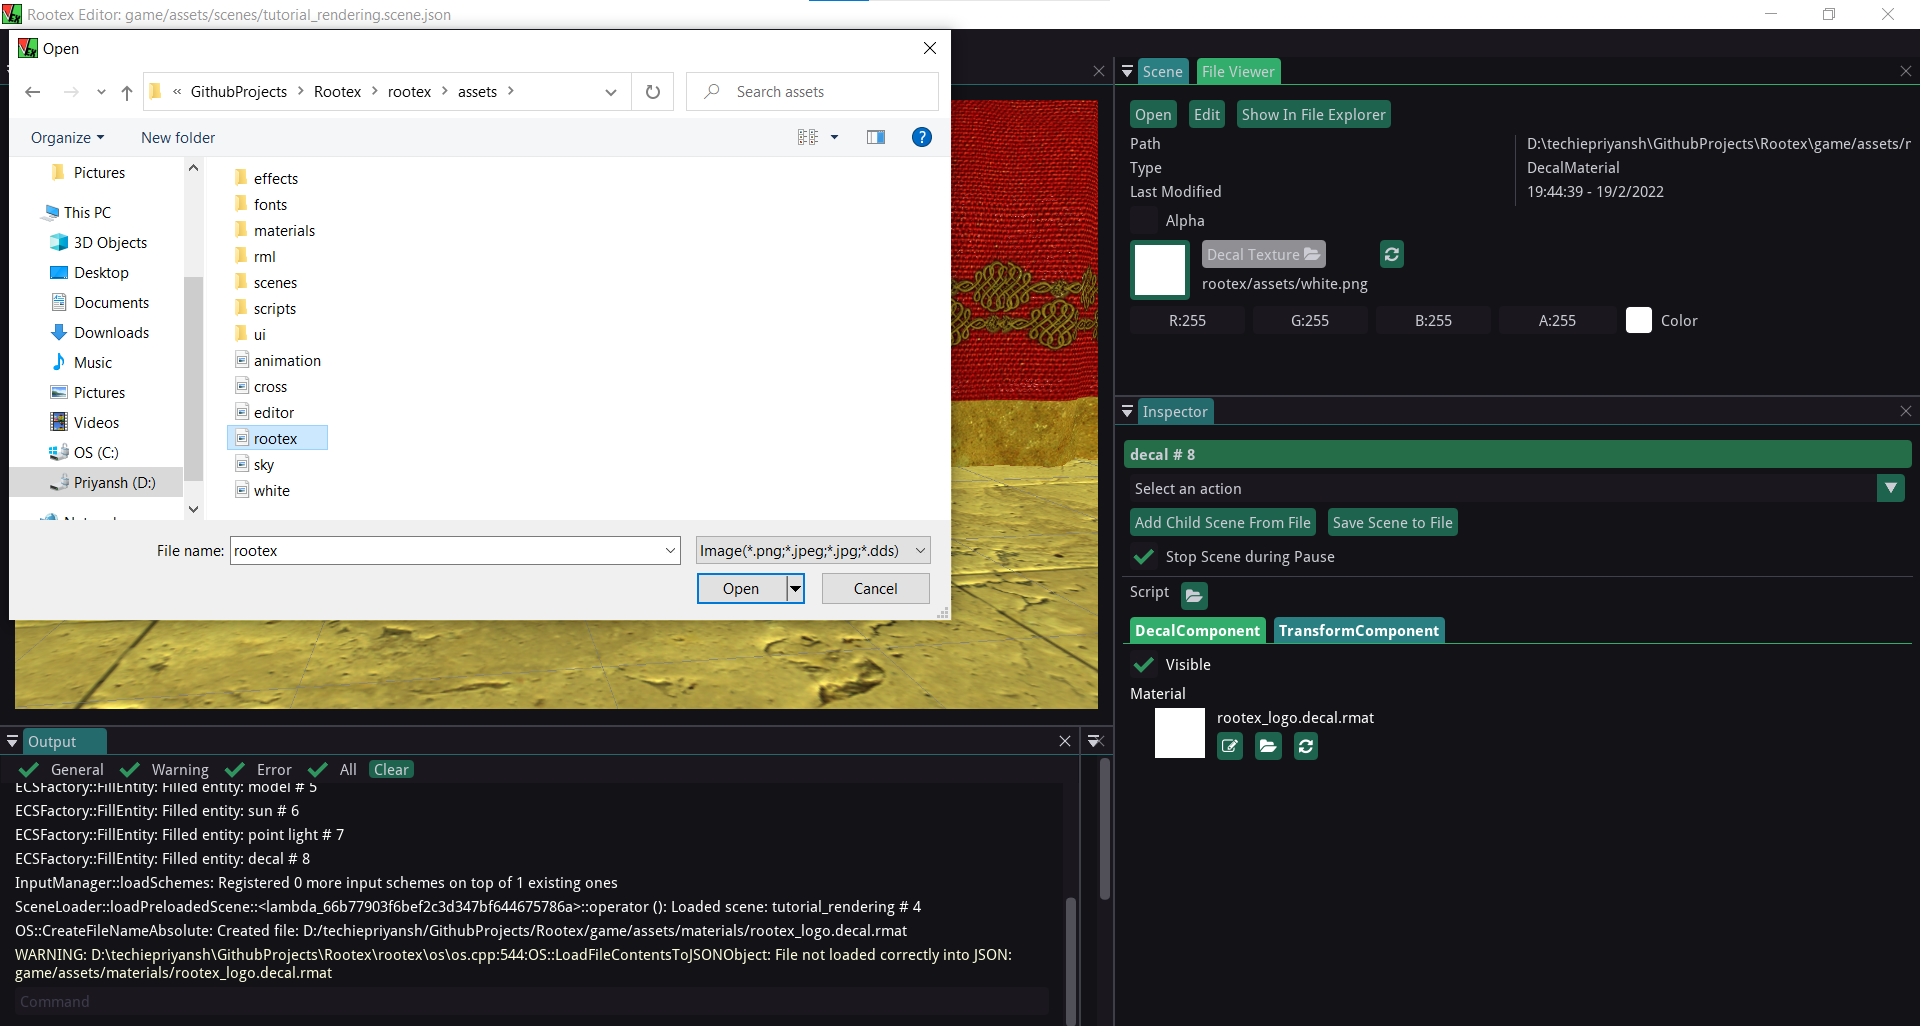
Create a decal material. By going to File -> CreateResource. And then slect Decal material in resource type dropdown.
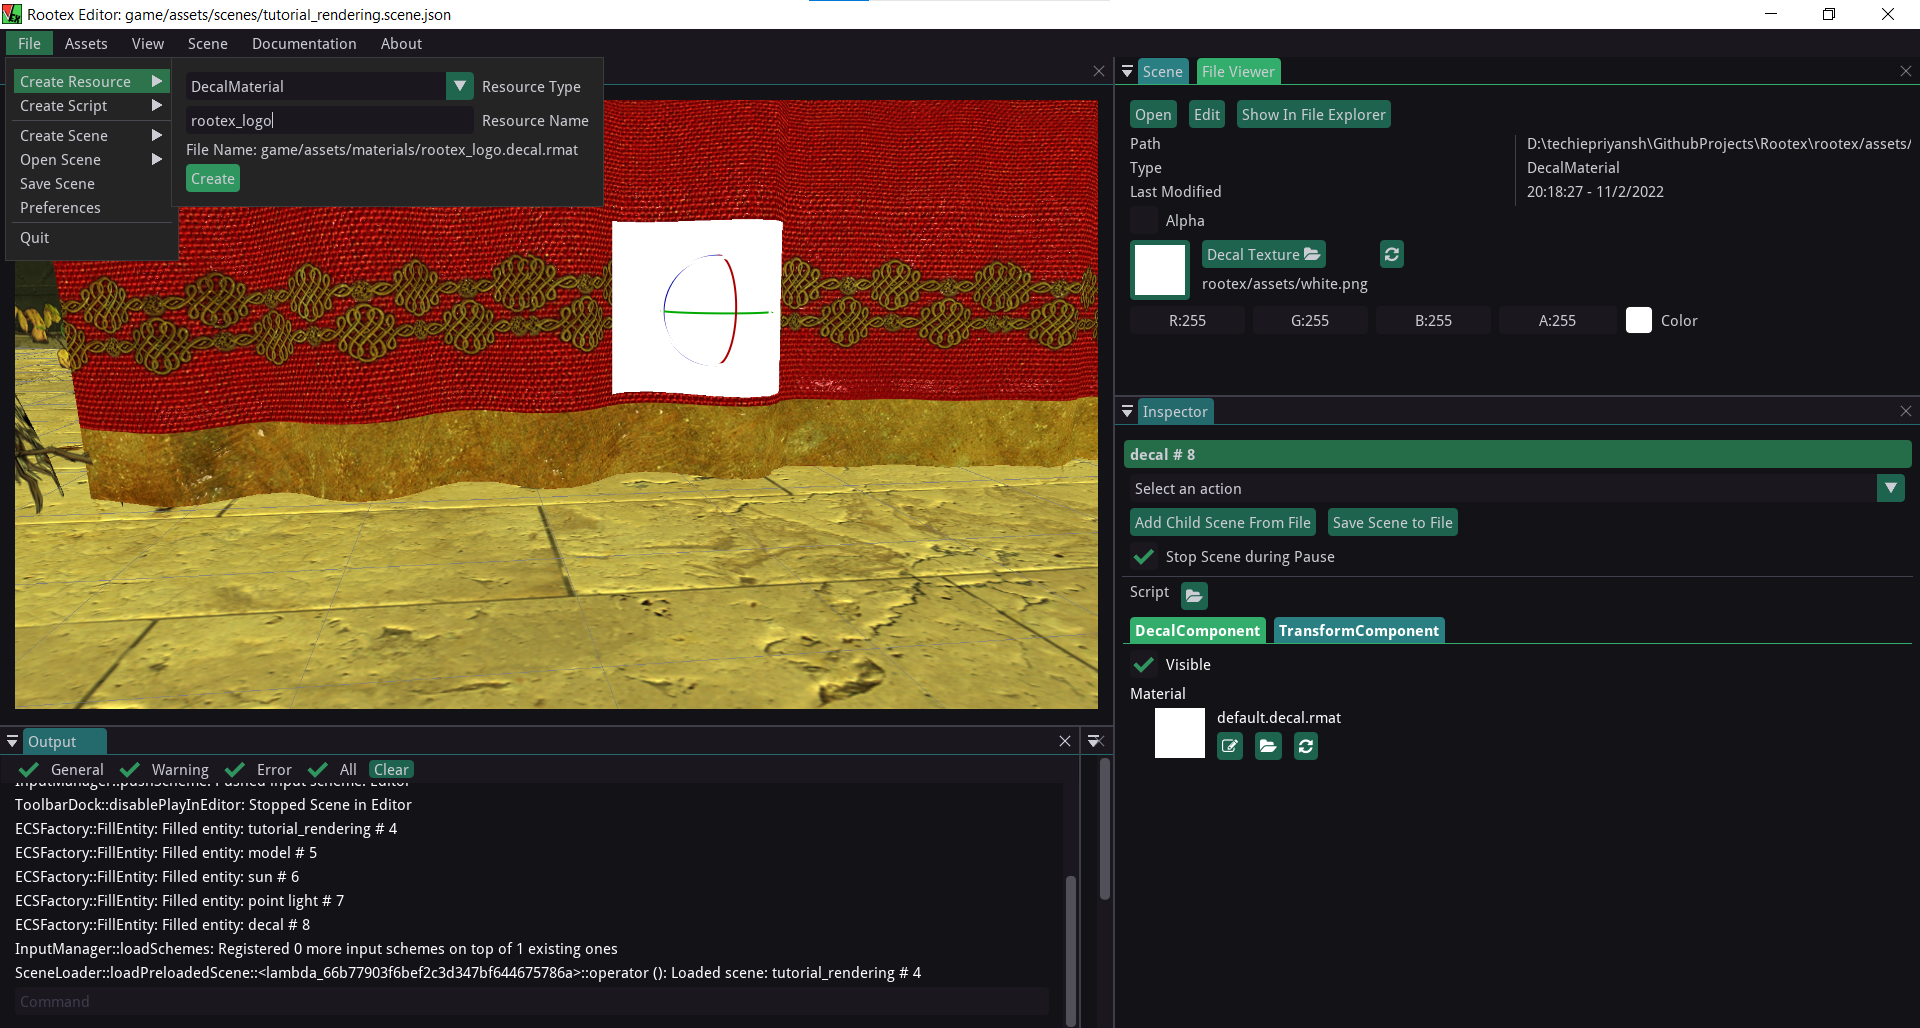
Now go to the inspector and click DecalComponent.
Click on the folder icon and select the decal material.

Click on the pencil icon and the in the file viewer click on Decal Texture.
Shift its position by manipulating the transform component.
By default, the decal shader projects on the negative z-axis. You can rotate it till you get the desired result.