Making HUD using UI-component
UI creation is quite easy in Rootex. The UI-component spans the viewport and is not affected by the camera transform, so it can act be used for creating HUD, Menus etc.
RmlUi
The UI-component makes use of RmlUi. RmlUi is a C++ UI library based on the HTML and CSS standards. It contains of RML (based loosely around XHTML 1.0 and HTML 4.01) and RCSS (based on CSS2).
Basic HUD
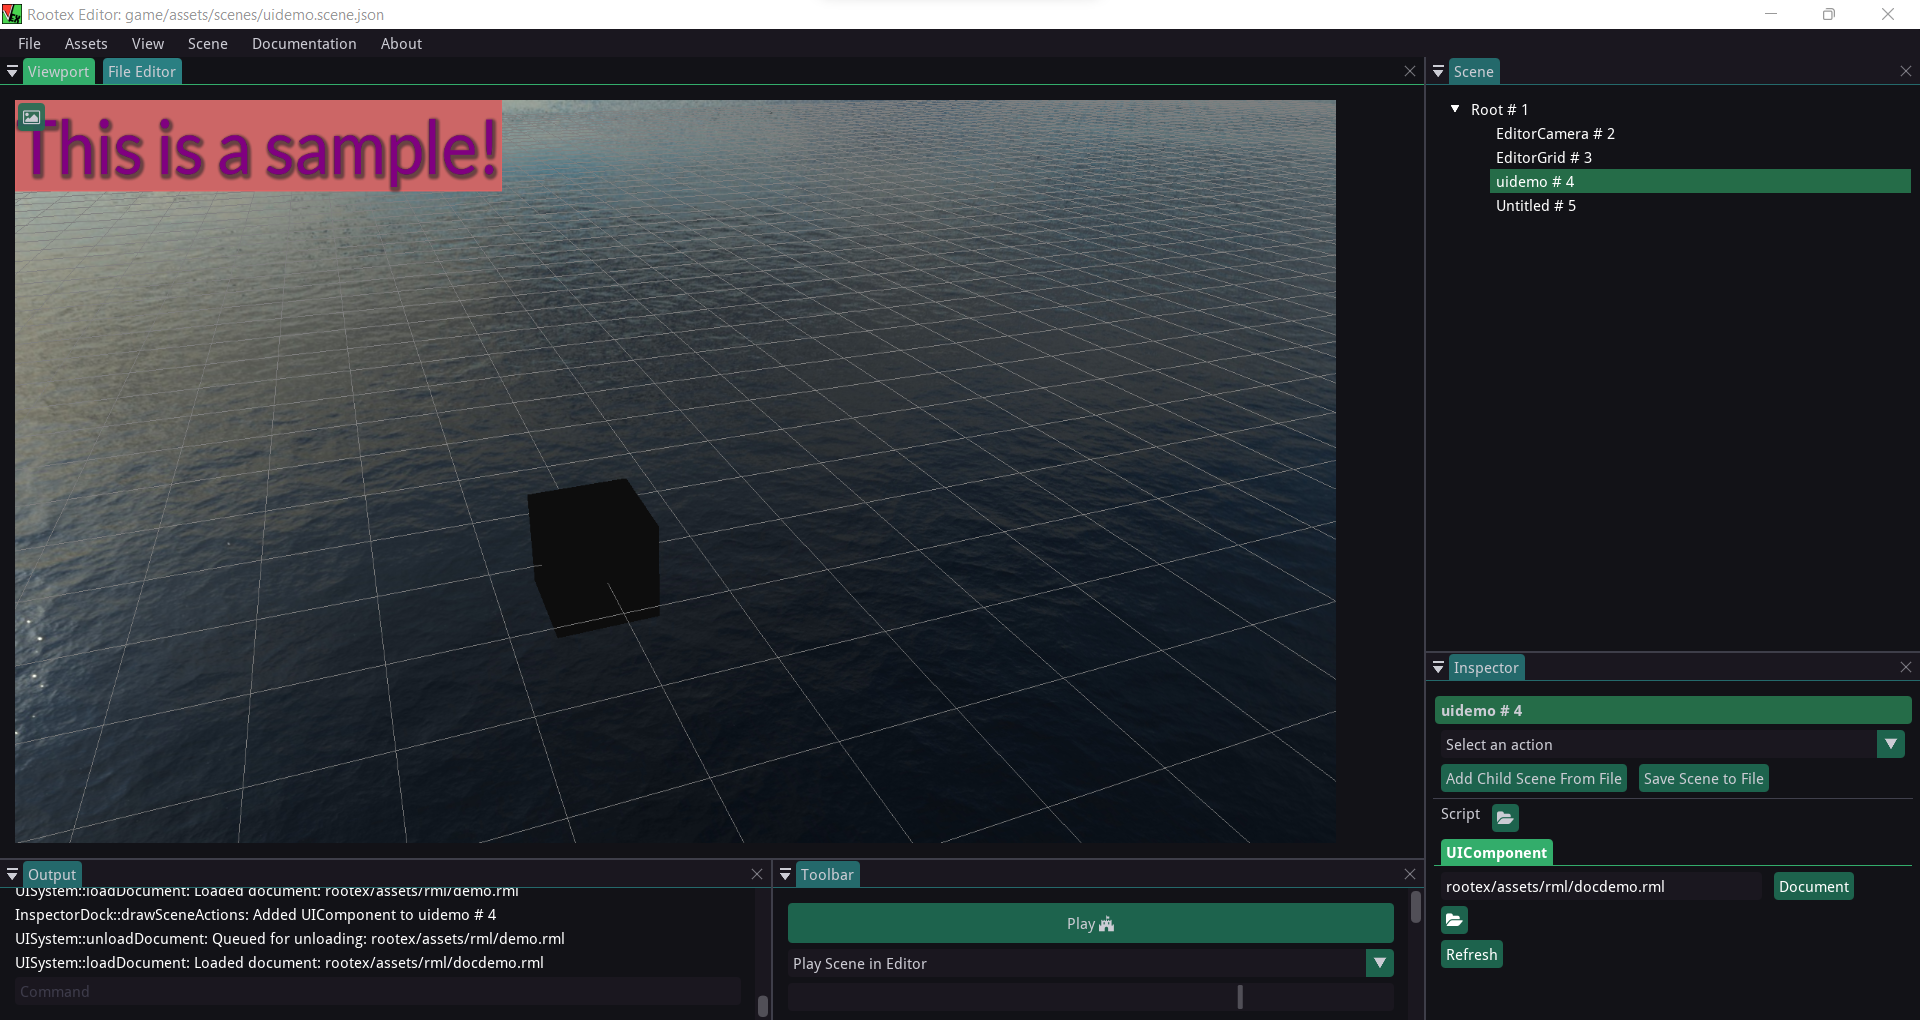
Let’s create an empty scene.
Add a UIComponent to this scene
Make an empty scene with a TransformComponent and ModelComponent (basic cube)
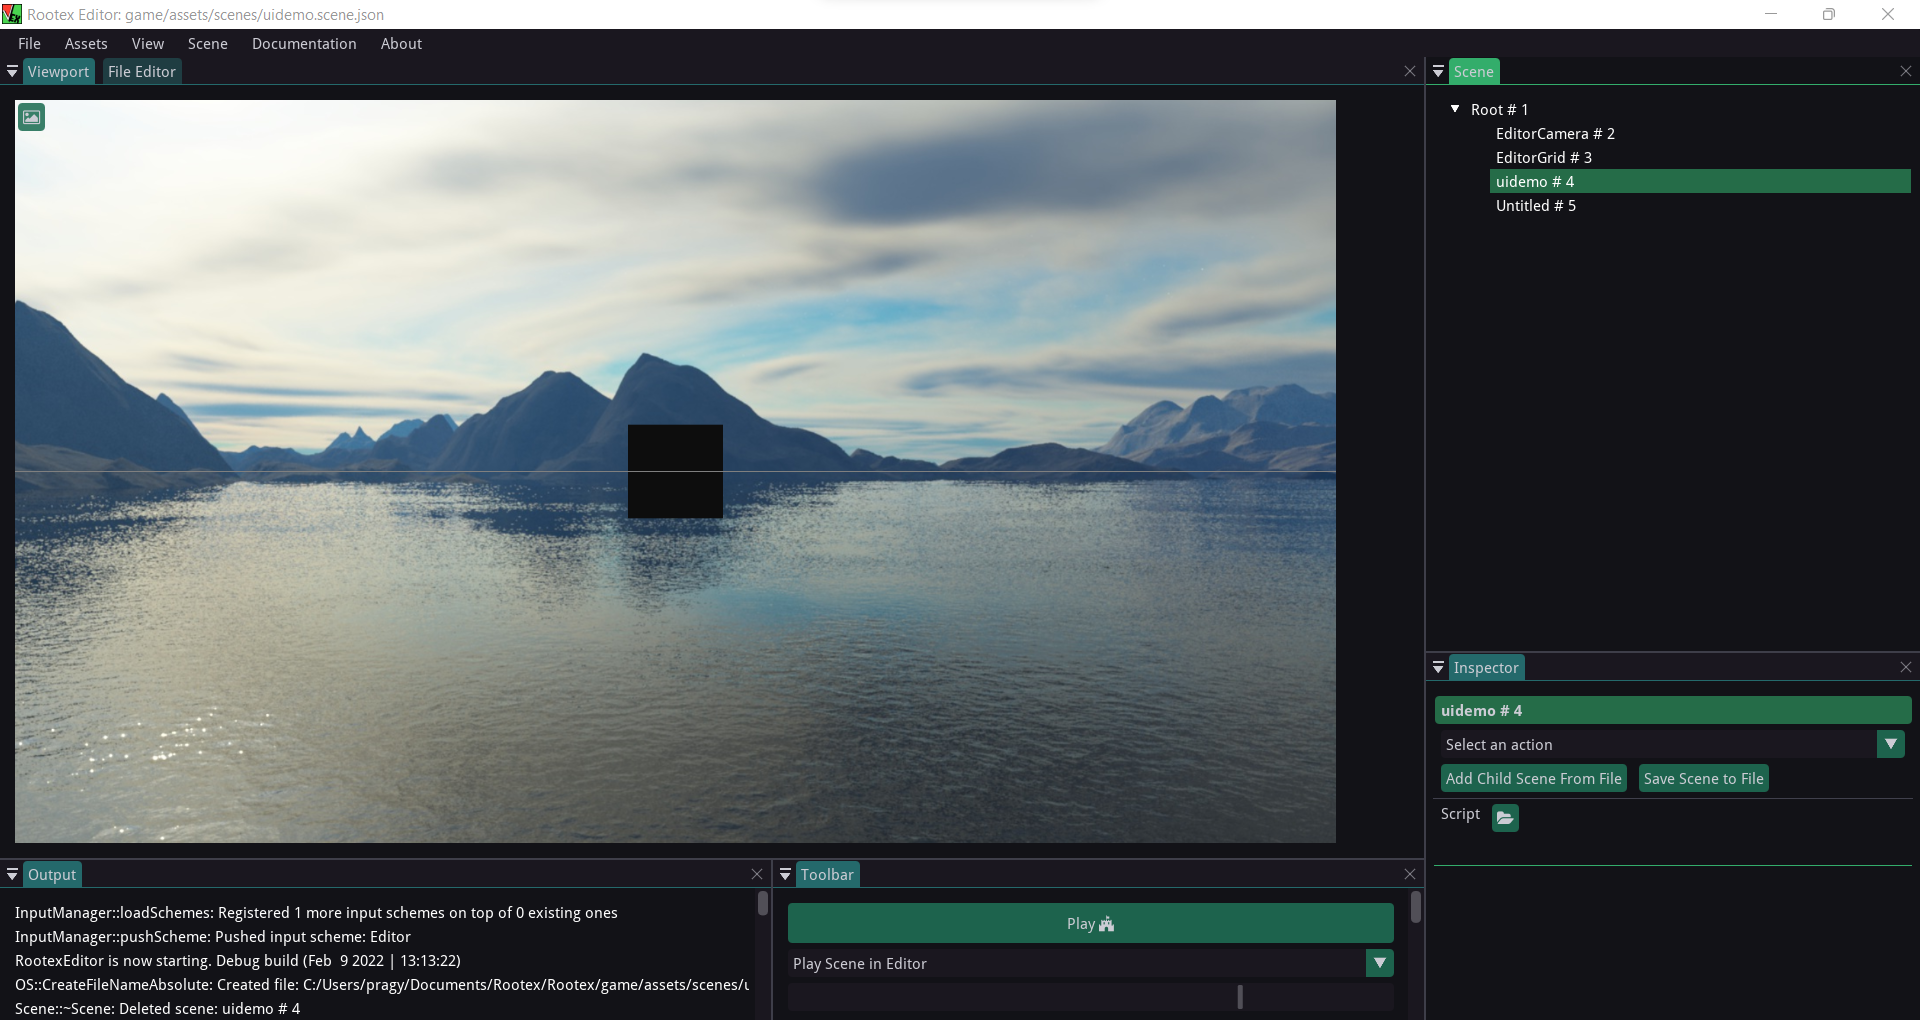
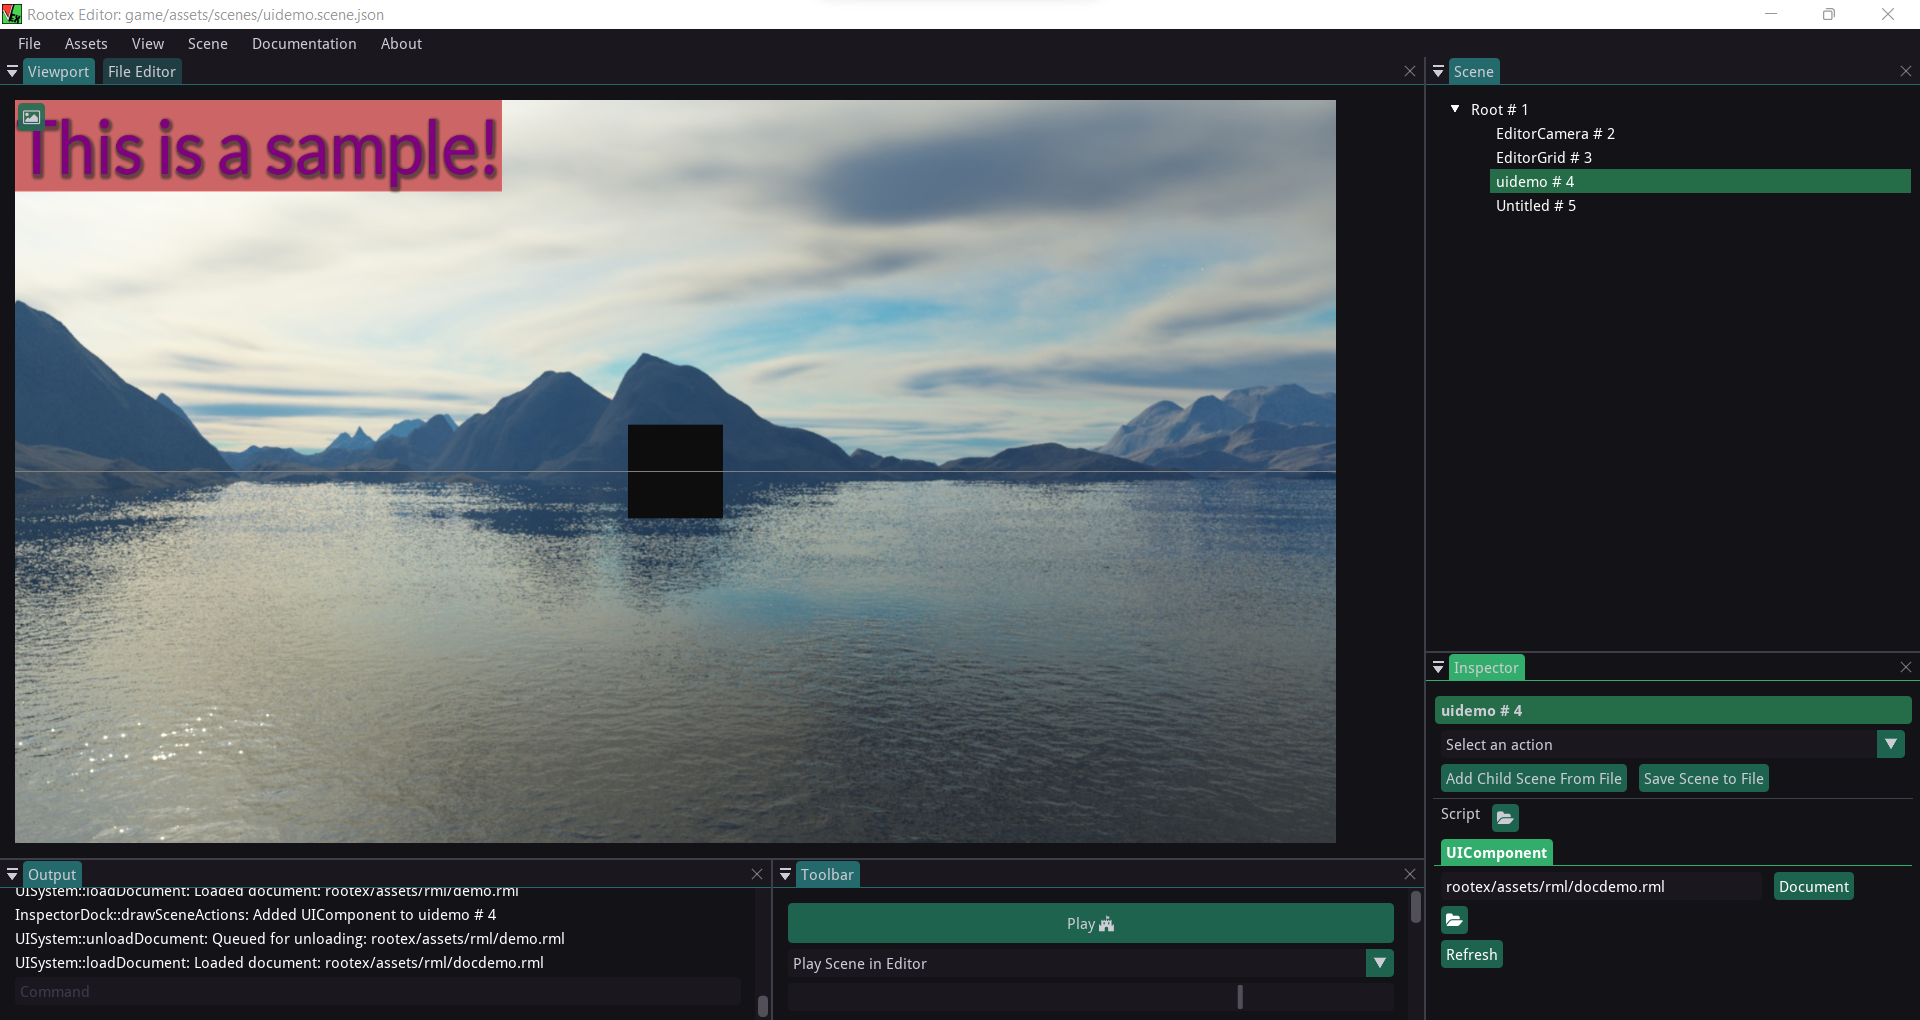
Now add the following RML script to the UIComponent
1 2 3 4 5 6 7 8 9 10 11 12 13 14 15 16 17 18 19 20 21 22 23 24 25 26 27 28 29 30 31 32 33 34 | <rml> <head> <title>Demo</title> <style> #transition_test { transition: padding-left background-color transform 1.6s elastic-out; transform: scale(1.0); background-color: #c66; } #transition_test:hover { padding-left: 60px; transform: scale(1.5); background-color: #f8b600; } p { font-family: "Lato"; font-size: 100px; color: purple; font-effect: glow(2px 4px 2px 3px #644); border: 2px #DB6565; } body { width: 100%; height: 100%; margin: auto; } </style> </head> <body> <p id="transition_test">This is a sample!</p> </body> </rml> |
This will add sample text to the top left of our viewport which will react on mouse hover.
Upon playing this scene and switching to EditorCamera, when we move the EditorCamera around, we can see the view of the cube changing, but the HUD stays in place.
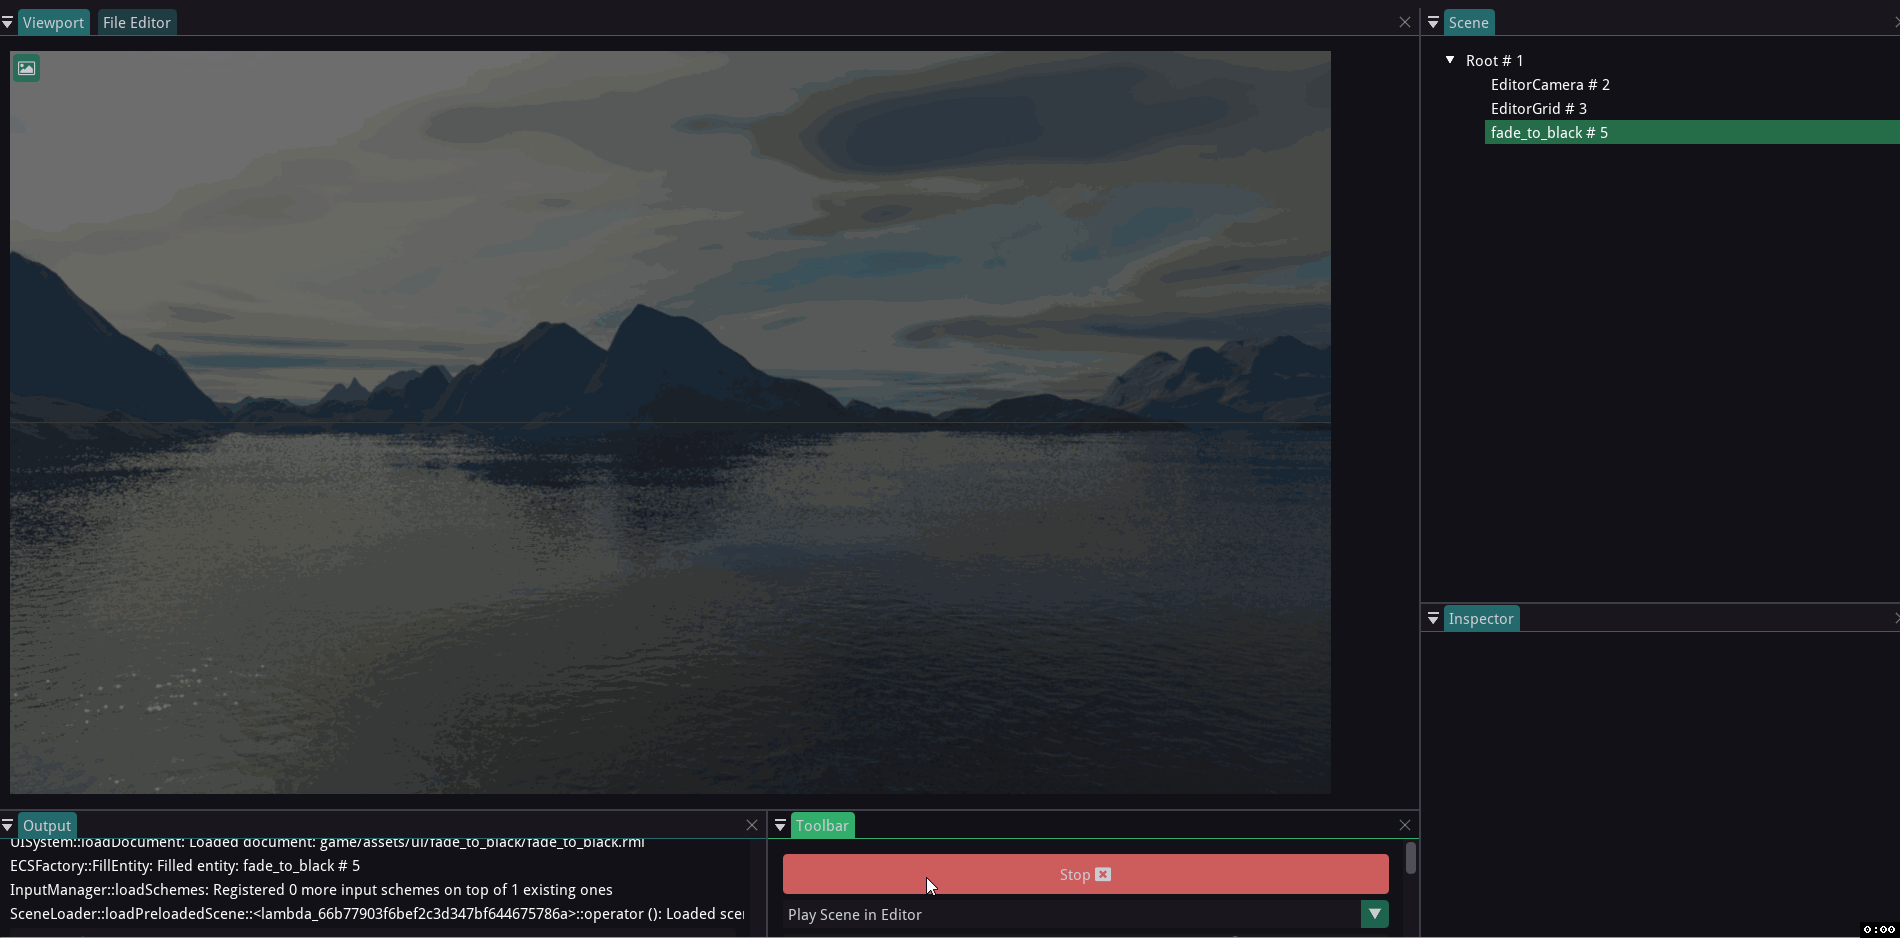
Fade-In effect
We can also make a simple fade-in effect.
RML code:
1 2 3 4 5 6 7 8 9 10 11 12 13 14 15 16 17 18 19 20 21 22 23 | <rml> <head> <title>Transition</title> <style> @keyframes fade-in { 0% { opacity: 0; } to { opacity: 1; } } body { background-color: black; width: 100%; height: 100%; animation: alternate 2s fade-in; } </style> </head> <body> </body> </rml> |
Upon loading this in the UIComponent of our scene, a fade effect will trigger and the scene will go black.